
How to Choppy Crop in Canva (Step by Step)
A quick guide to making rough, uneven “choppy” crops in Canva for a handmade cutout look.

Dudu
Dec 29, 2025

Last Updated Dec 29, 2025
Image Credit: Toolfolio
Cropping in Canva is usually clean and straight, but sometimes you want a rough cut that looks handmade and imperfect. A choppy crop gives images a scrapbook feel, adds character, and makes designs stand out when smooth edges feel too polished.
This guide shows how to create that uneven cutout look in Canva using simple tools you already have, without plugins or advanced editing.
After a few steps, you will be able to turn regular images into rough, cut-style visuals that look intentional and creative.
What is a Choppy Crop
A choppy crop is a style of cutting an image so the edges look rough, uneven, and hand-cut instead of smooth and straight. It gives photos a natural cutout feel, similar to paper scraps in a collage or elements clipped with scissors.

Designers use this style to make images look less digital and more handmade, adding texture and personality to layouts.
Steps to Choppy Crop in Canva
Canva has a built-in app that helps you draw your own outline and crop any picture into a custom shape. Follow the steps below to create the choppy crop effect:
Step 1: Set up Your Canvas and Choose a Picture
Open Canva and start with a blank design.

Change the background to a bold color so your image stands out.
Go to the Elements or Photos tab, search for an image you like, and add it to your canvas.
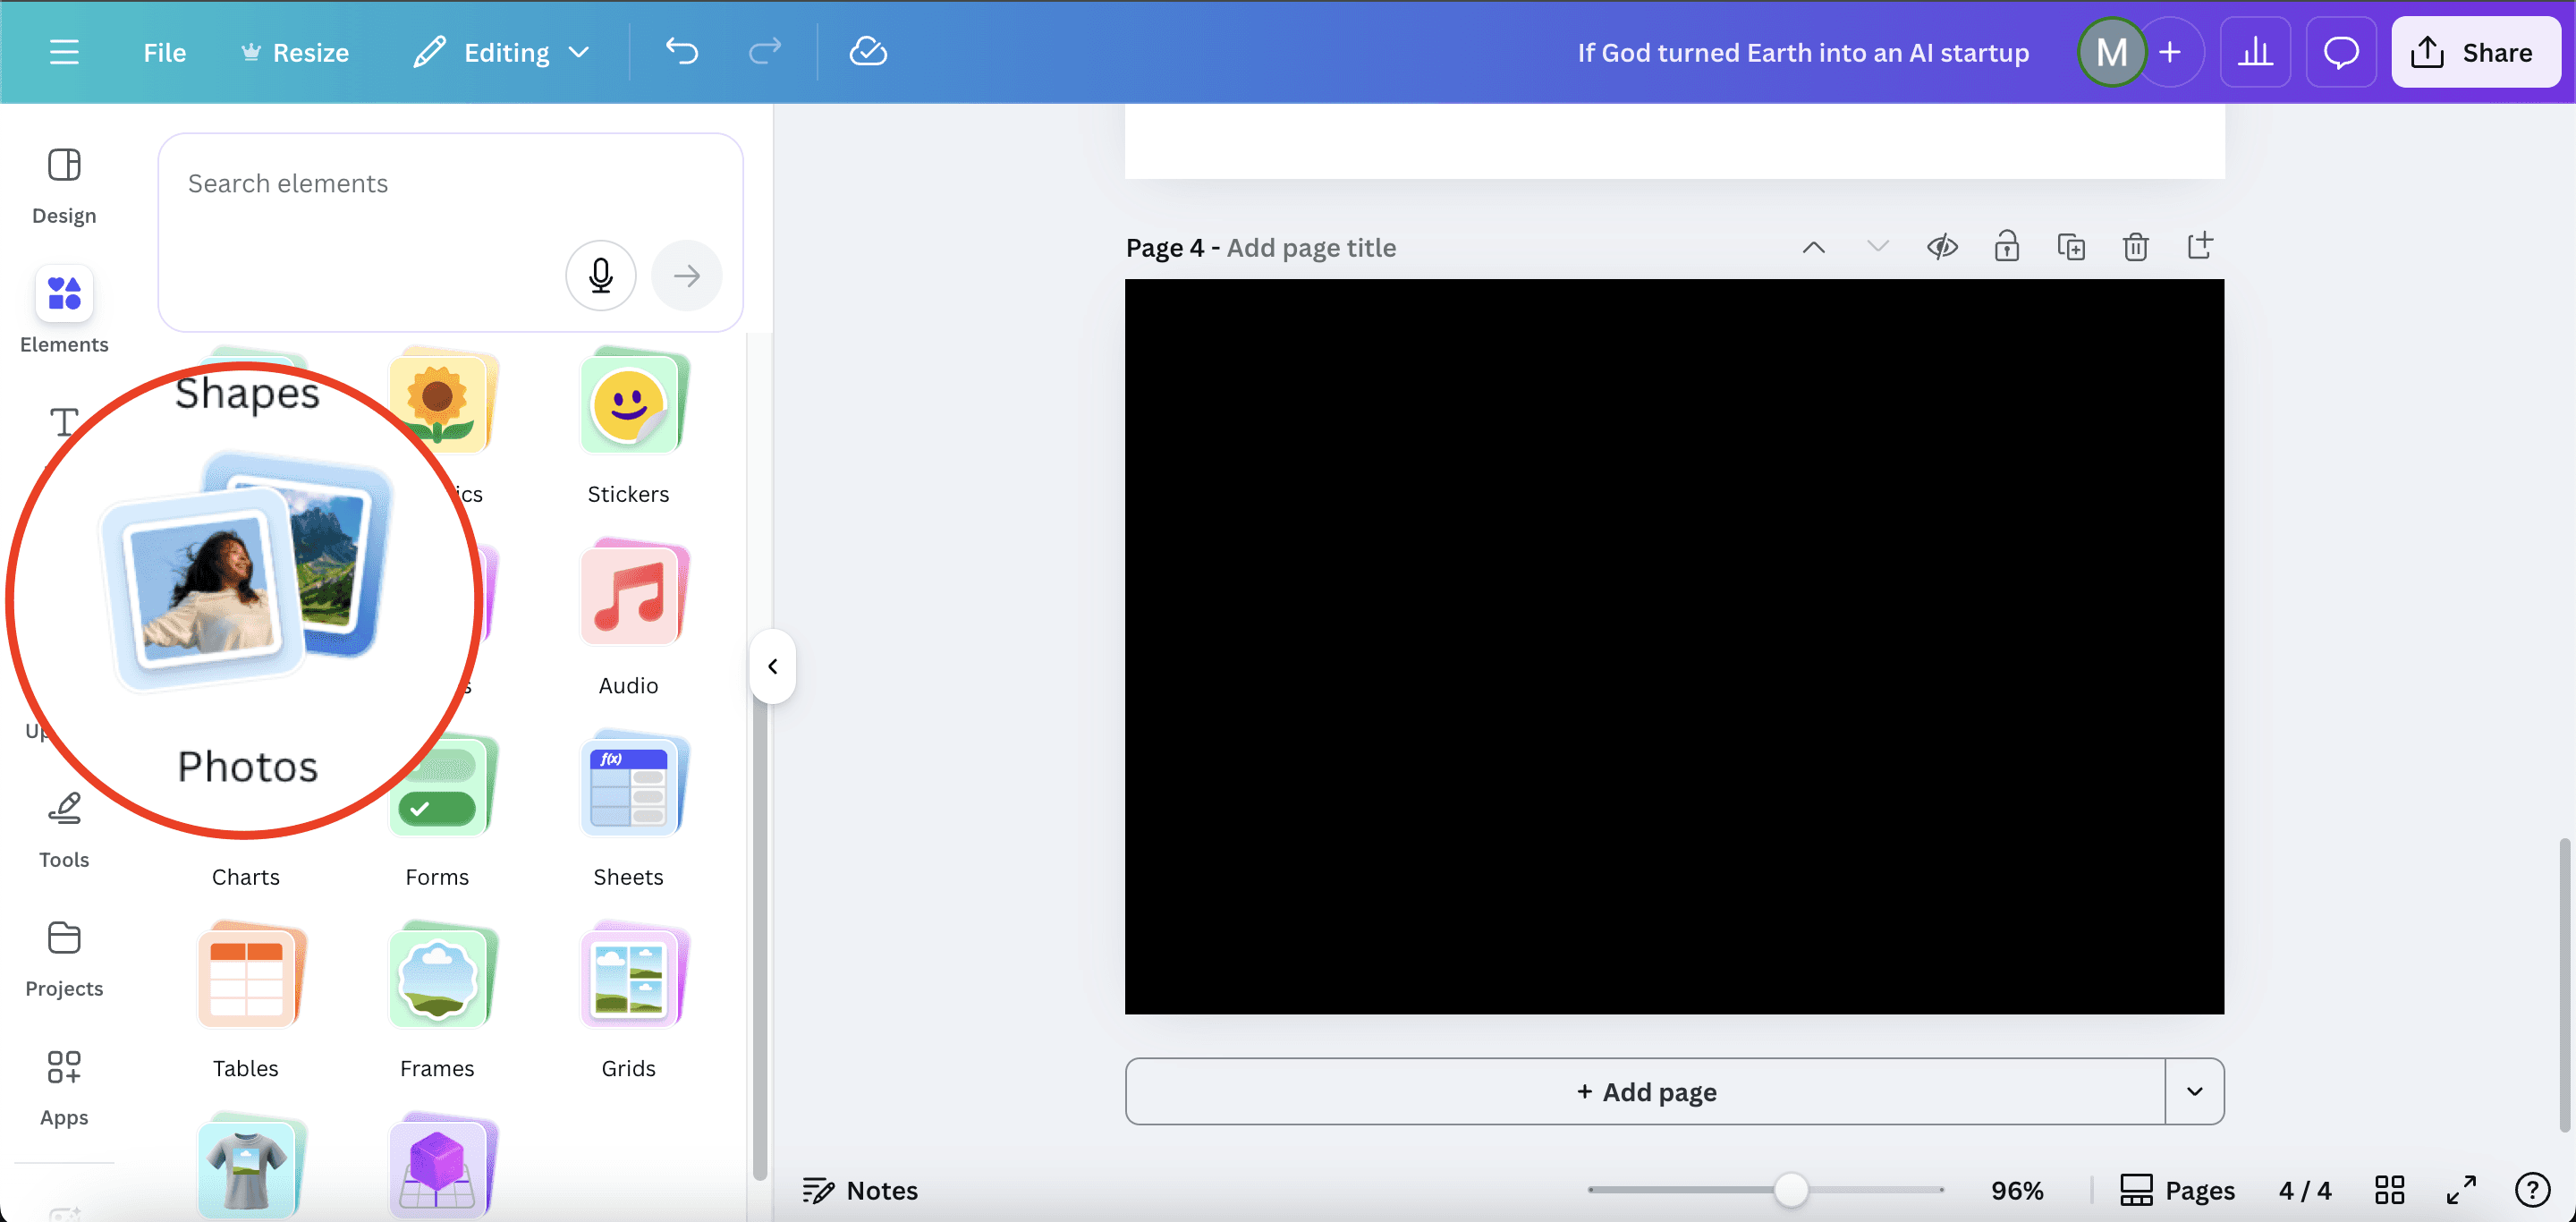
Any subject works, but clear shapes are easier to outline.
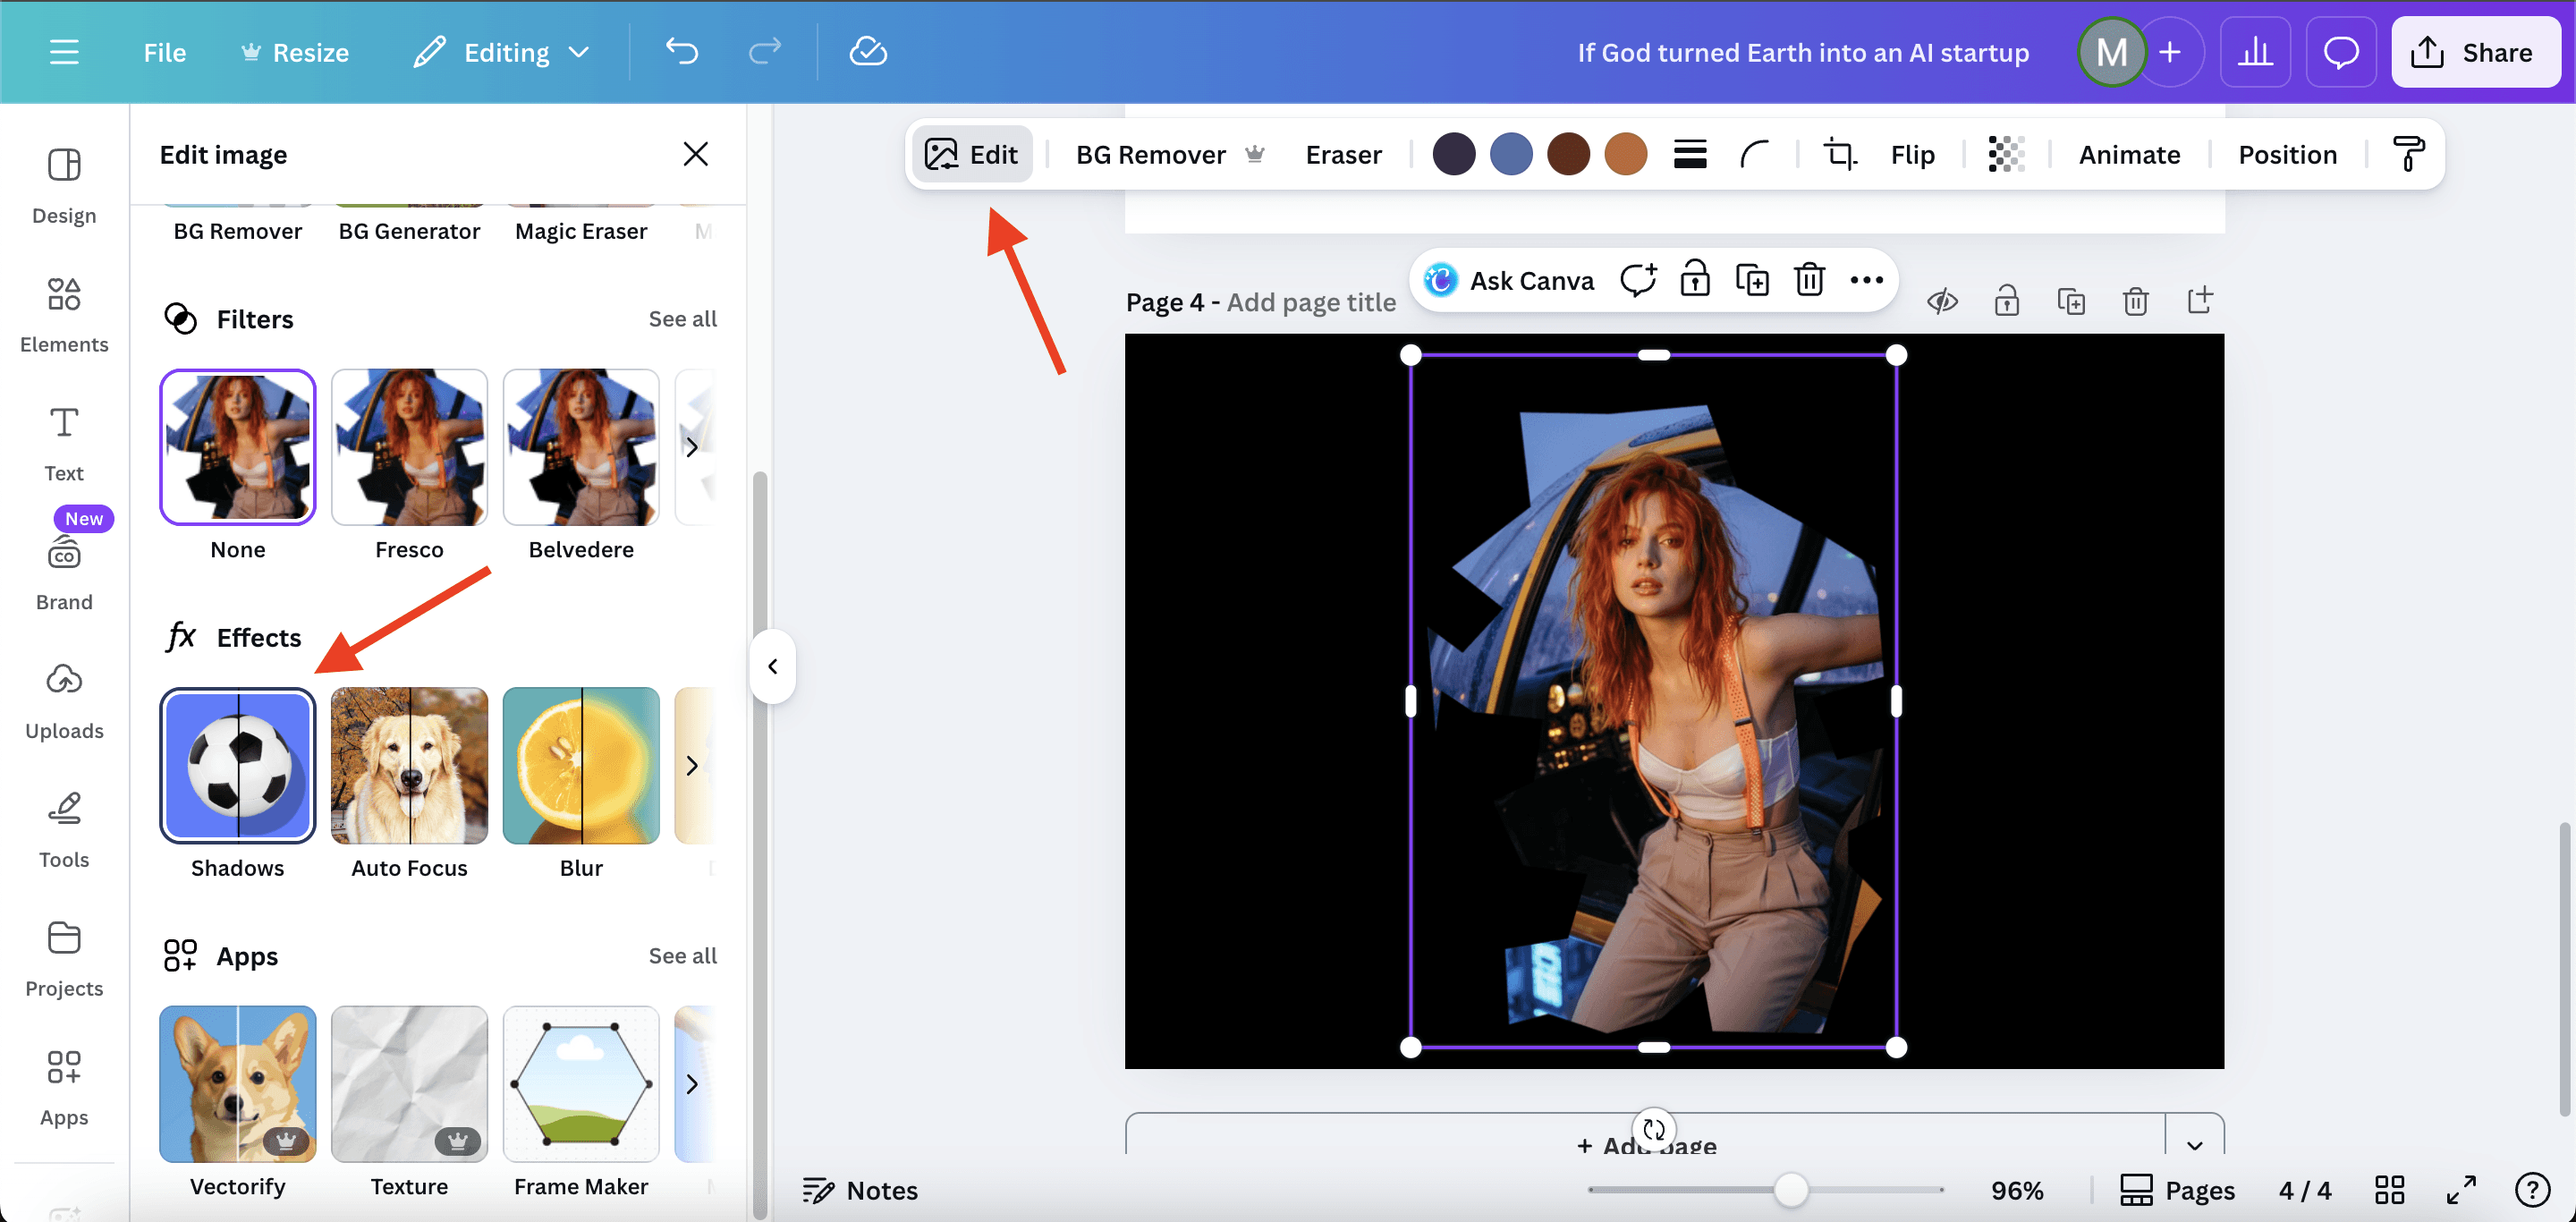
Step 2: Install and Open the Choppy Crop App
In the left sidebar, click Apps and search for Choppy Crop.
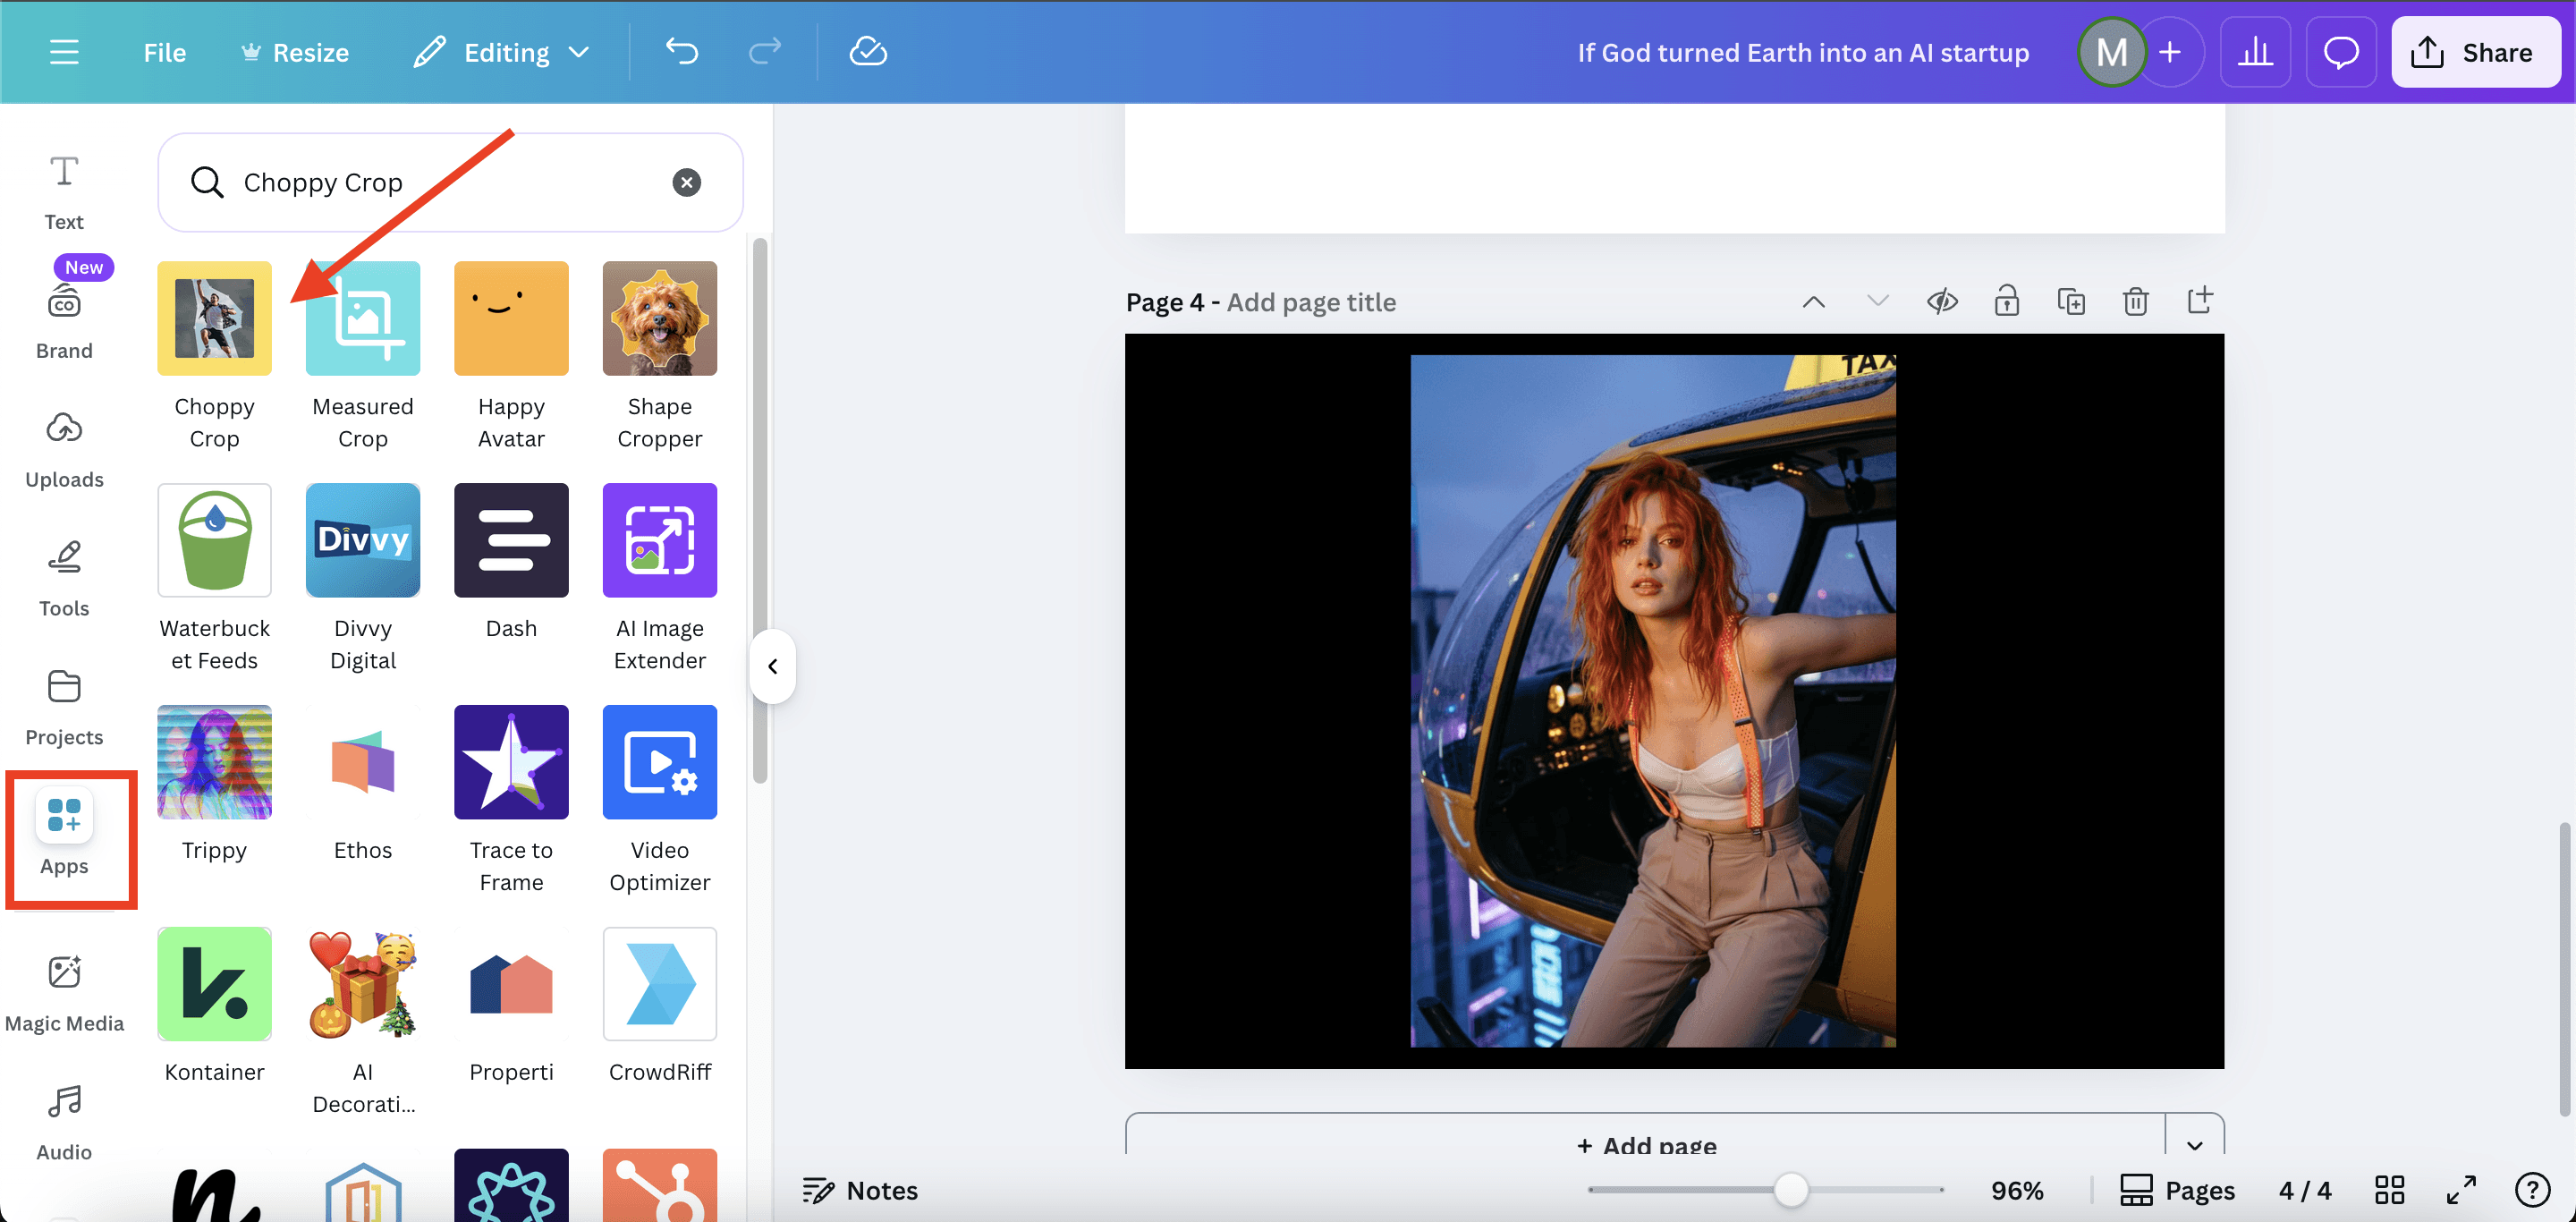
Select the yellow icon and install it.
The app will open on your screen and load options to let you outline your image manually.
Step 3: Draw Your Custom Rough Outline
Click on your image to start placing anchor points.
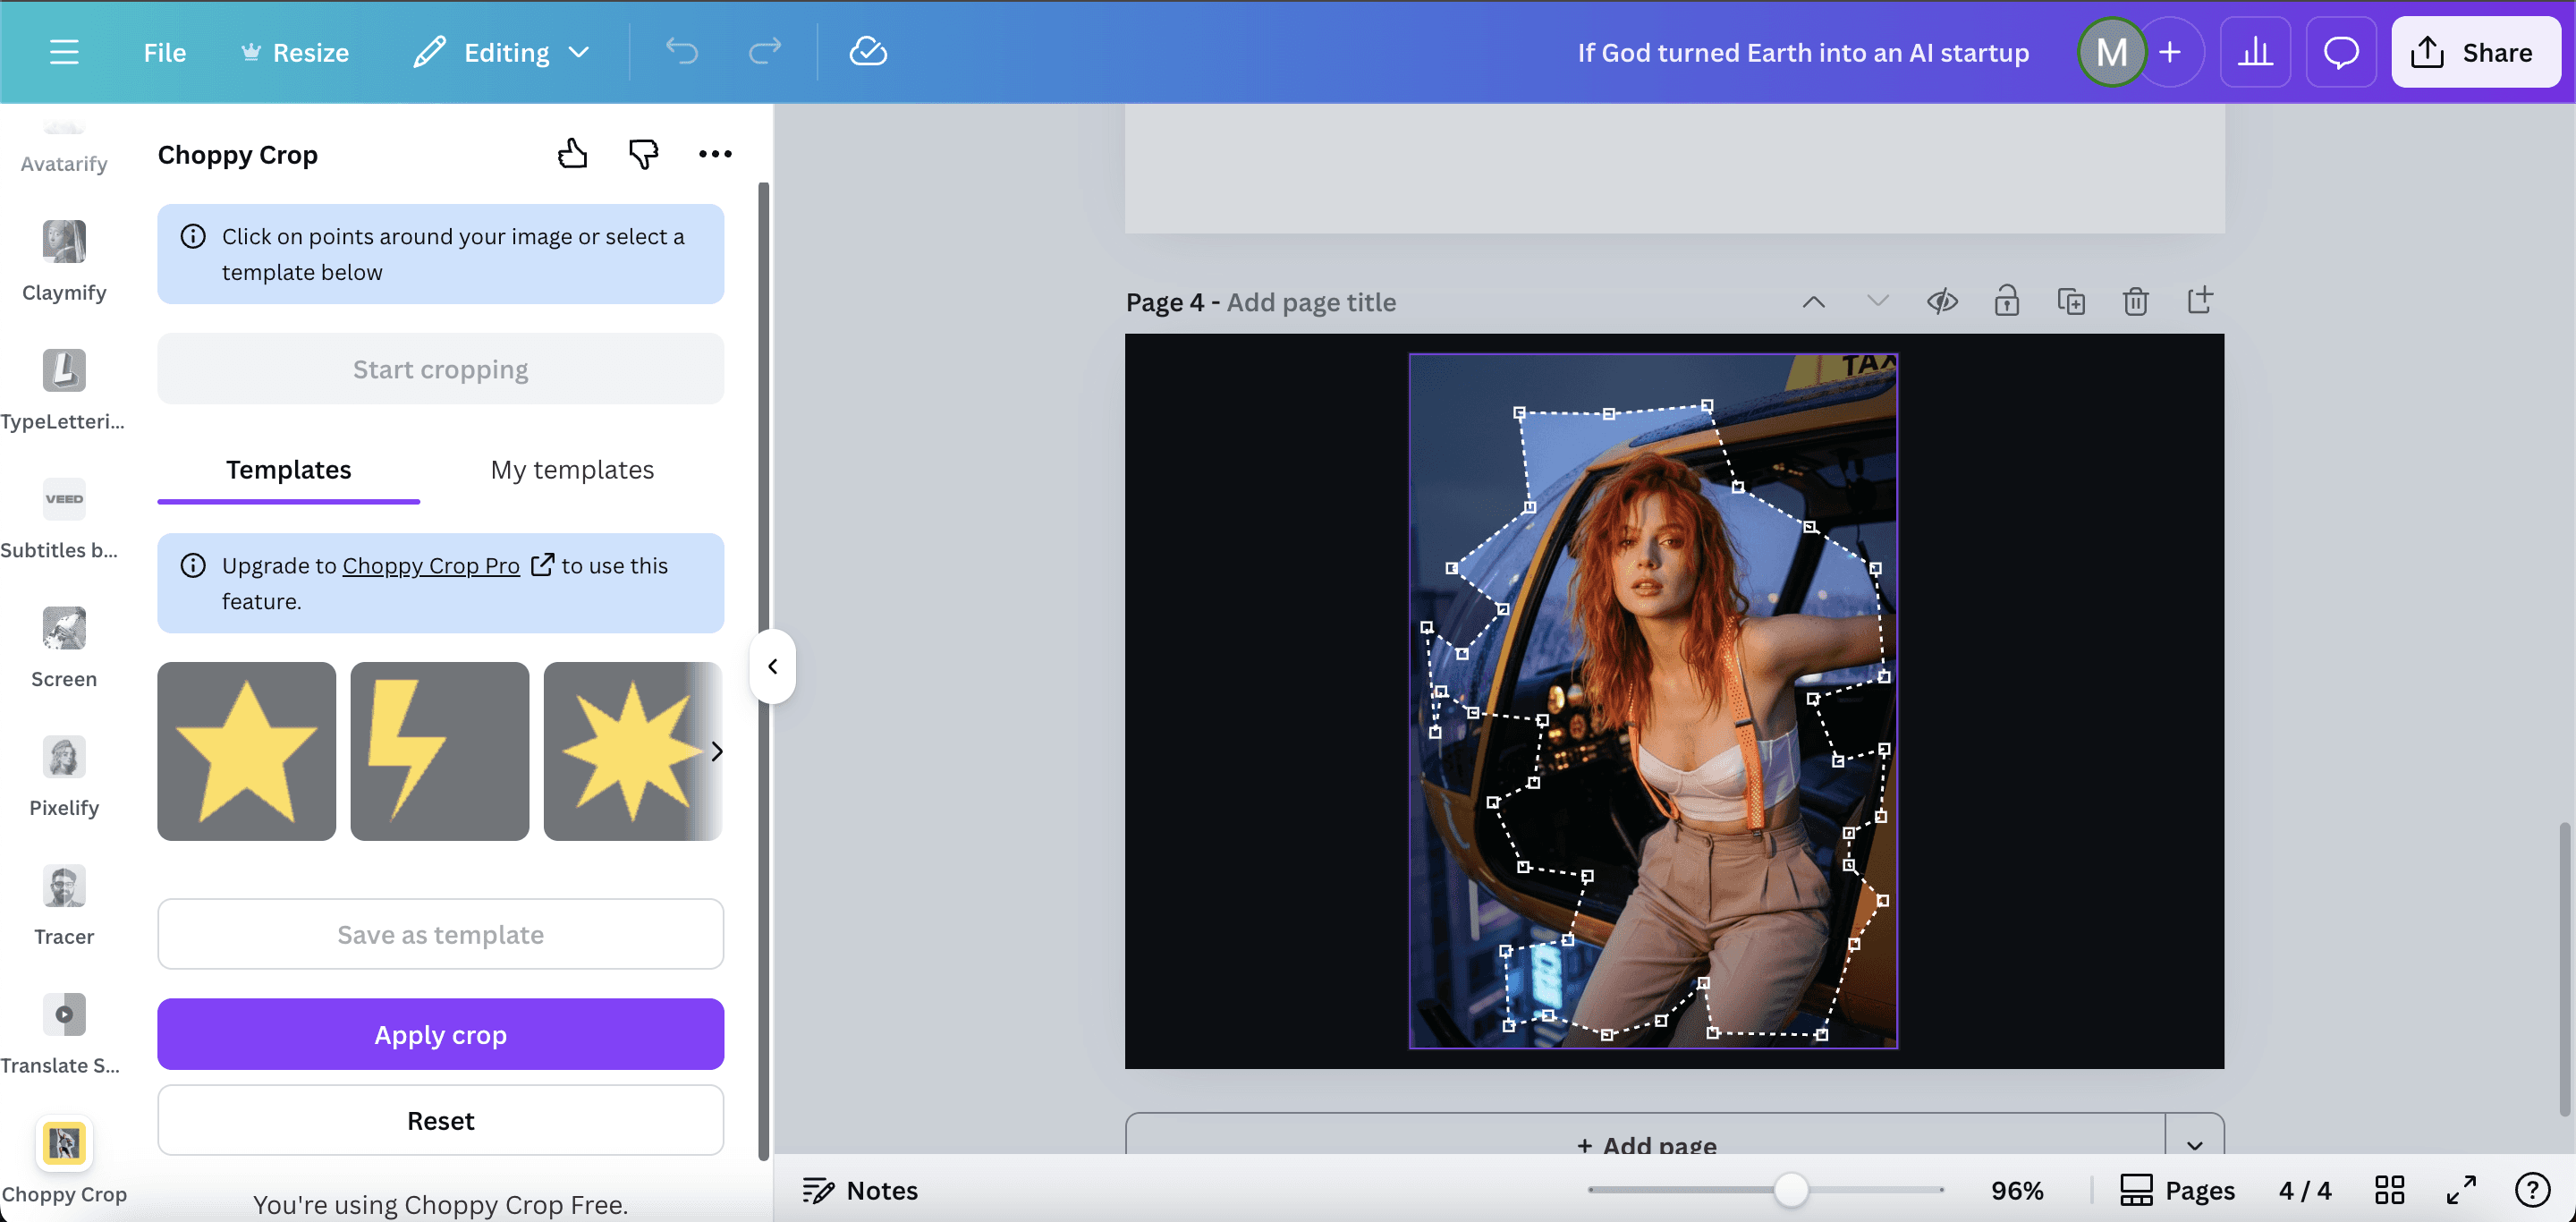
Each click adds a new point and forms the rough zigzag line around the subject. Continue clicking around the edge of the image until you reach the starting point again. This creates a full outline and shows a preview of the crop.
Make sure not to click outside the image, or you'll have to start adding anchor points from the beginning.
When the preview looks right, click Apply Crop and that's it.
Step 4: Add a White Outline to Enhance the Cutout Look
Select your cropped image and open Edit Image.
Go to Shadows and choose Outline.

Make the outline white and increase the thickness until it looks like a real cutout. This makes the edges pop and gives a scrapbook feel.
And That's a Wrap
That is all you need to make a rough cutout effect in Canva.
The Choppy Crop app keeps the process simple while giving you full control over the outline. Add a white border and light animation, and your images start to look handmade.
Check out more resources from Toolfolio:
You May Also Like


Featured Tools


Newest Additions


AI Image & Video Generation


Vibe Coding Library


Screenshot & Screen Recording Tools


