
How to Separate Layers From Any Image (Steps)
Learn how to break any image into separate, editable layers in a few simple steps. Upload your photo, let the tool detect individual elements, and then edit, move, or delete each part without rebuilding the design.

Dudu
Apr 28, 2026

Last Updated Apr 28, 2026
Image Credit: Toolfolio
You often have an image you want to change. Maybe the text is wrong, an object needs to move, or you want to remove the background. Sometimes you just want to reuse a design without starting from scratch.
But most images are flat. You cannot click on parts inside them. Everything is stuck together, which makes small edits feel hard.
So people search for ways to edit text in an image, extract elements, or convert a photo into editable layers. Many end up using complex tools or recreating the whole design.
Separating layers from an image solves this problem. It breaks the image into parts like text, objects, and background. Each part becomes editable on its own.
This guide shows how to separate layers from any image step by step. You will be able to upload your image, extract its elements, and edit each part easily.
How to Separate Layers From Any Image (Step-by-Step)
Step 1: Upload your image to your design
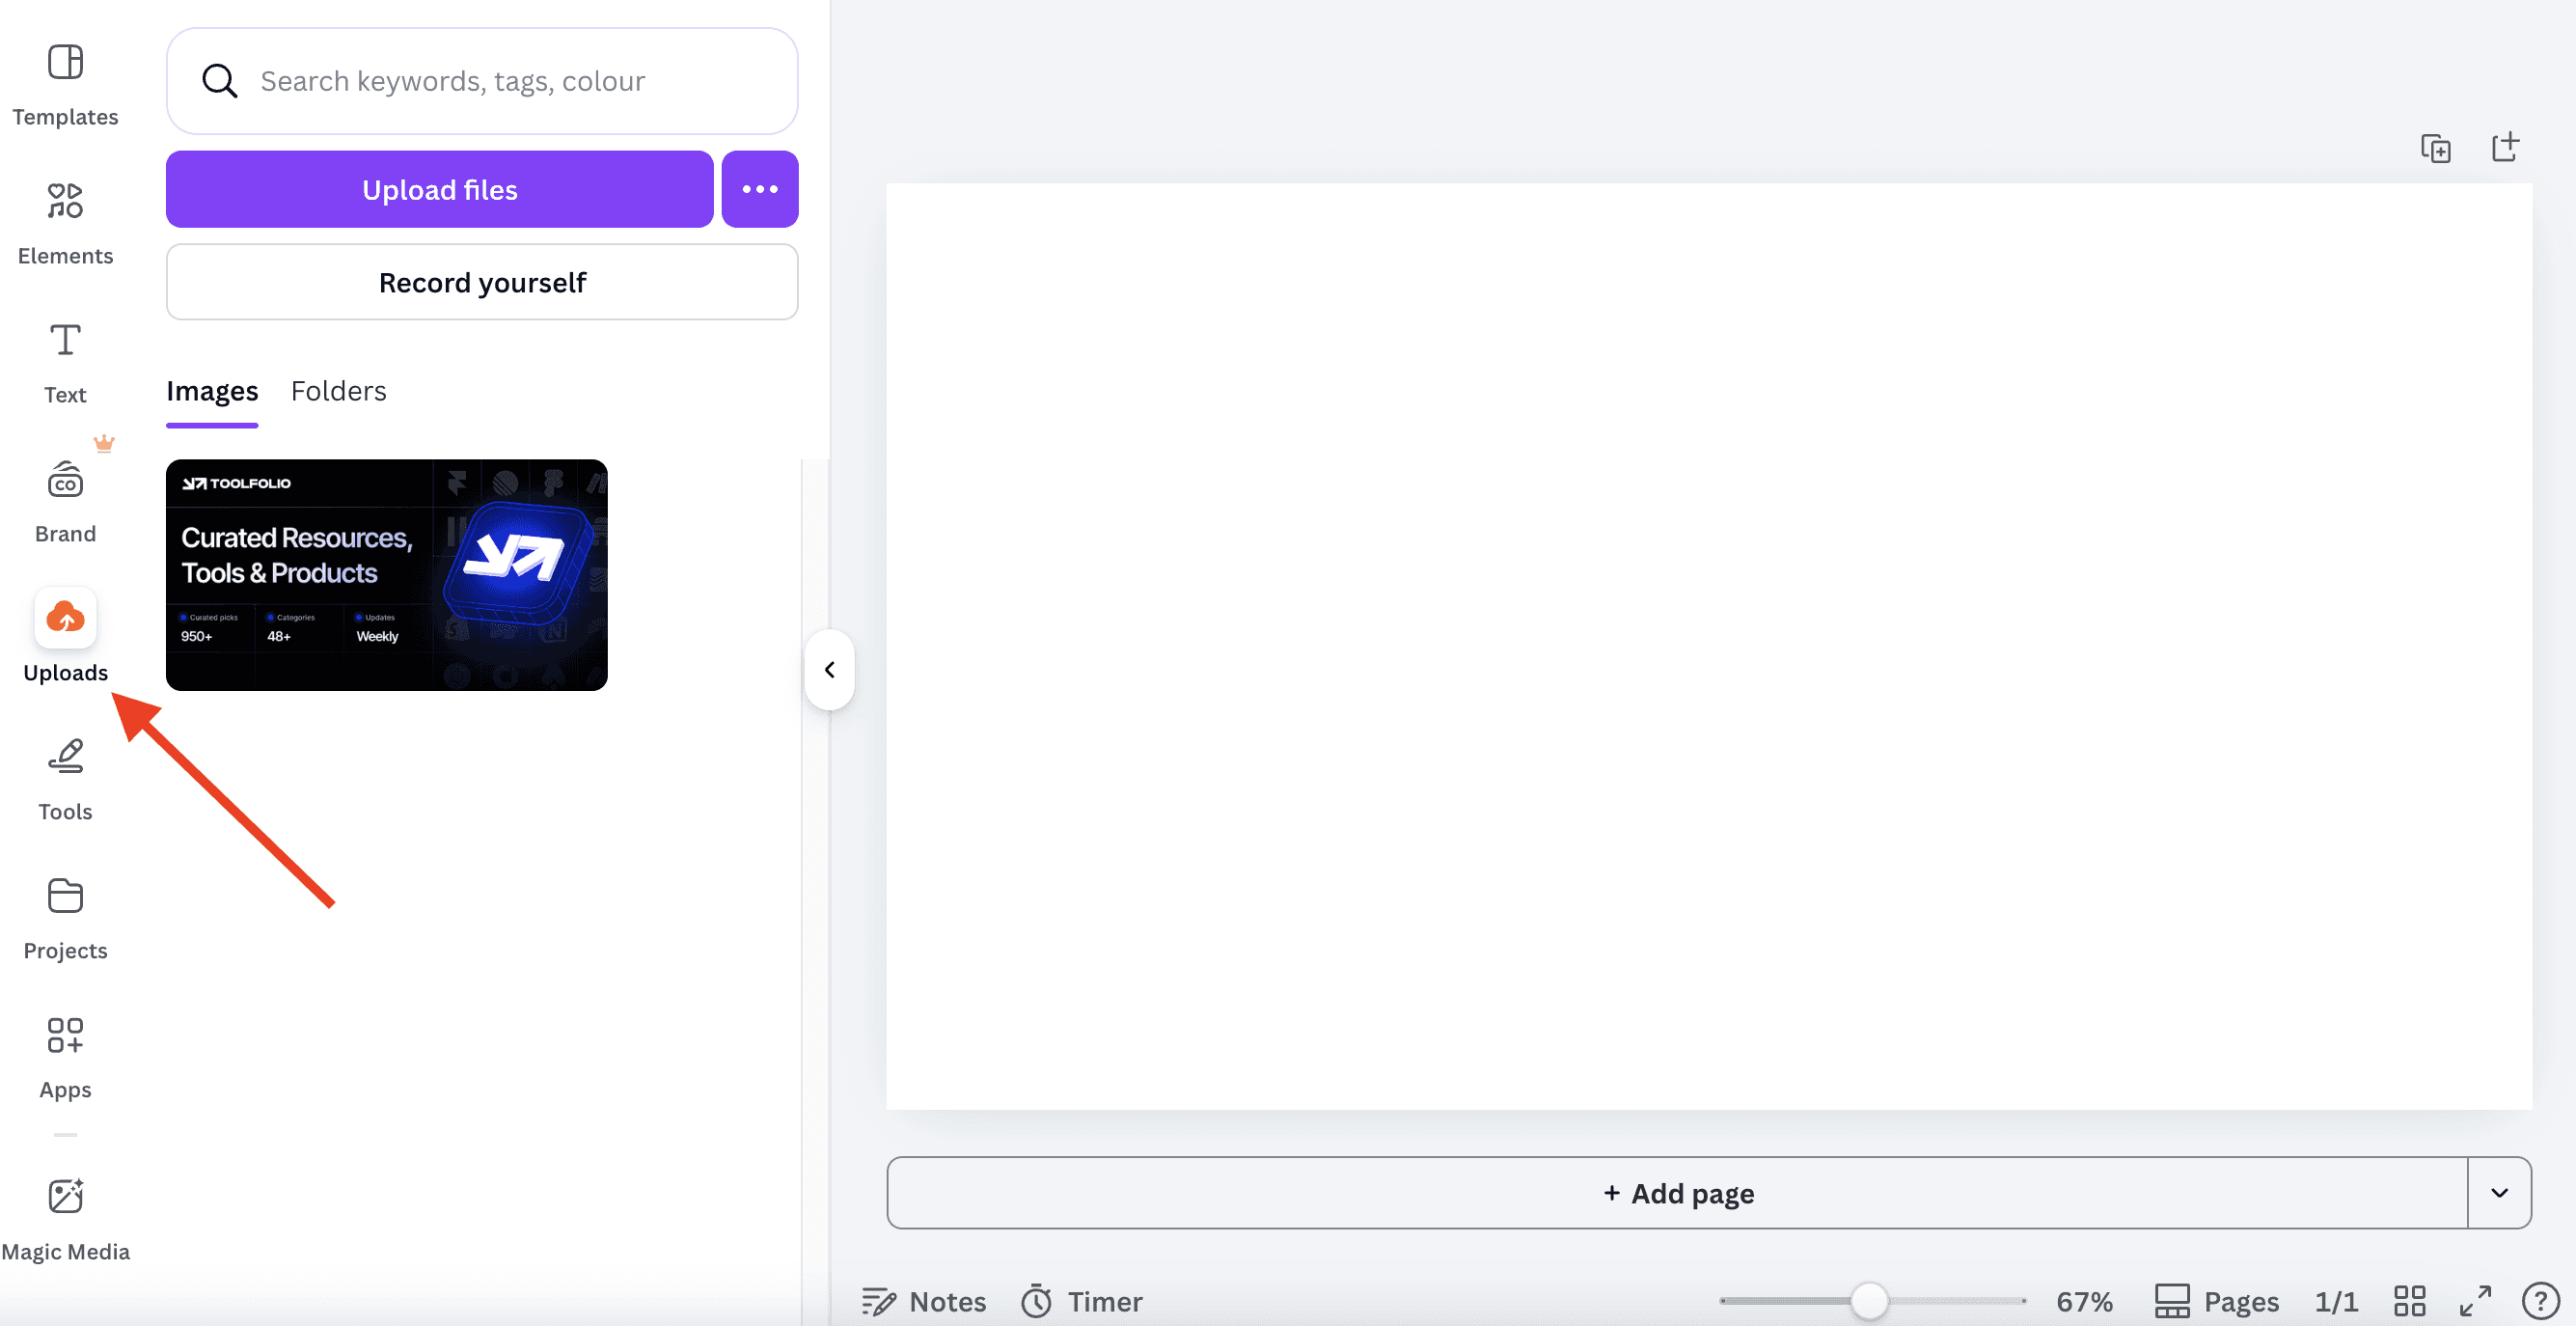
Open or create a new design in Canva. Go to the Uploads section and add your image. You can upload a JPG or PNG file from your device. Once uploaded, place the image on your canvas so you can start editing it.
Step 2: Select the image and open edit options
Click on the image to select it. From the top editor toolbar, click on Edit. This will open editing features available for your selected image.
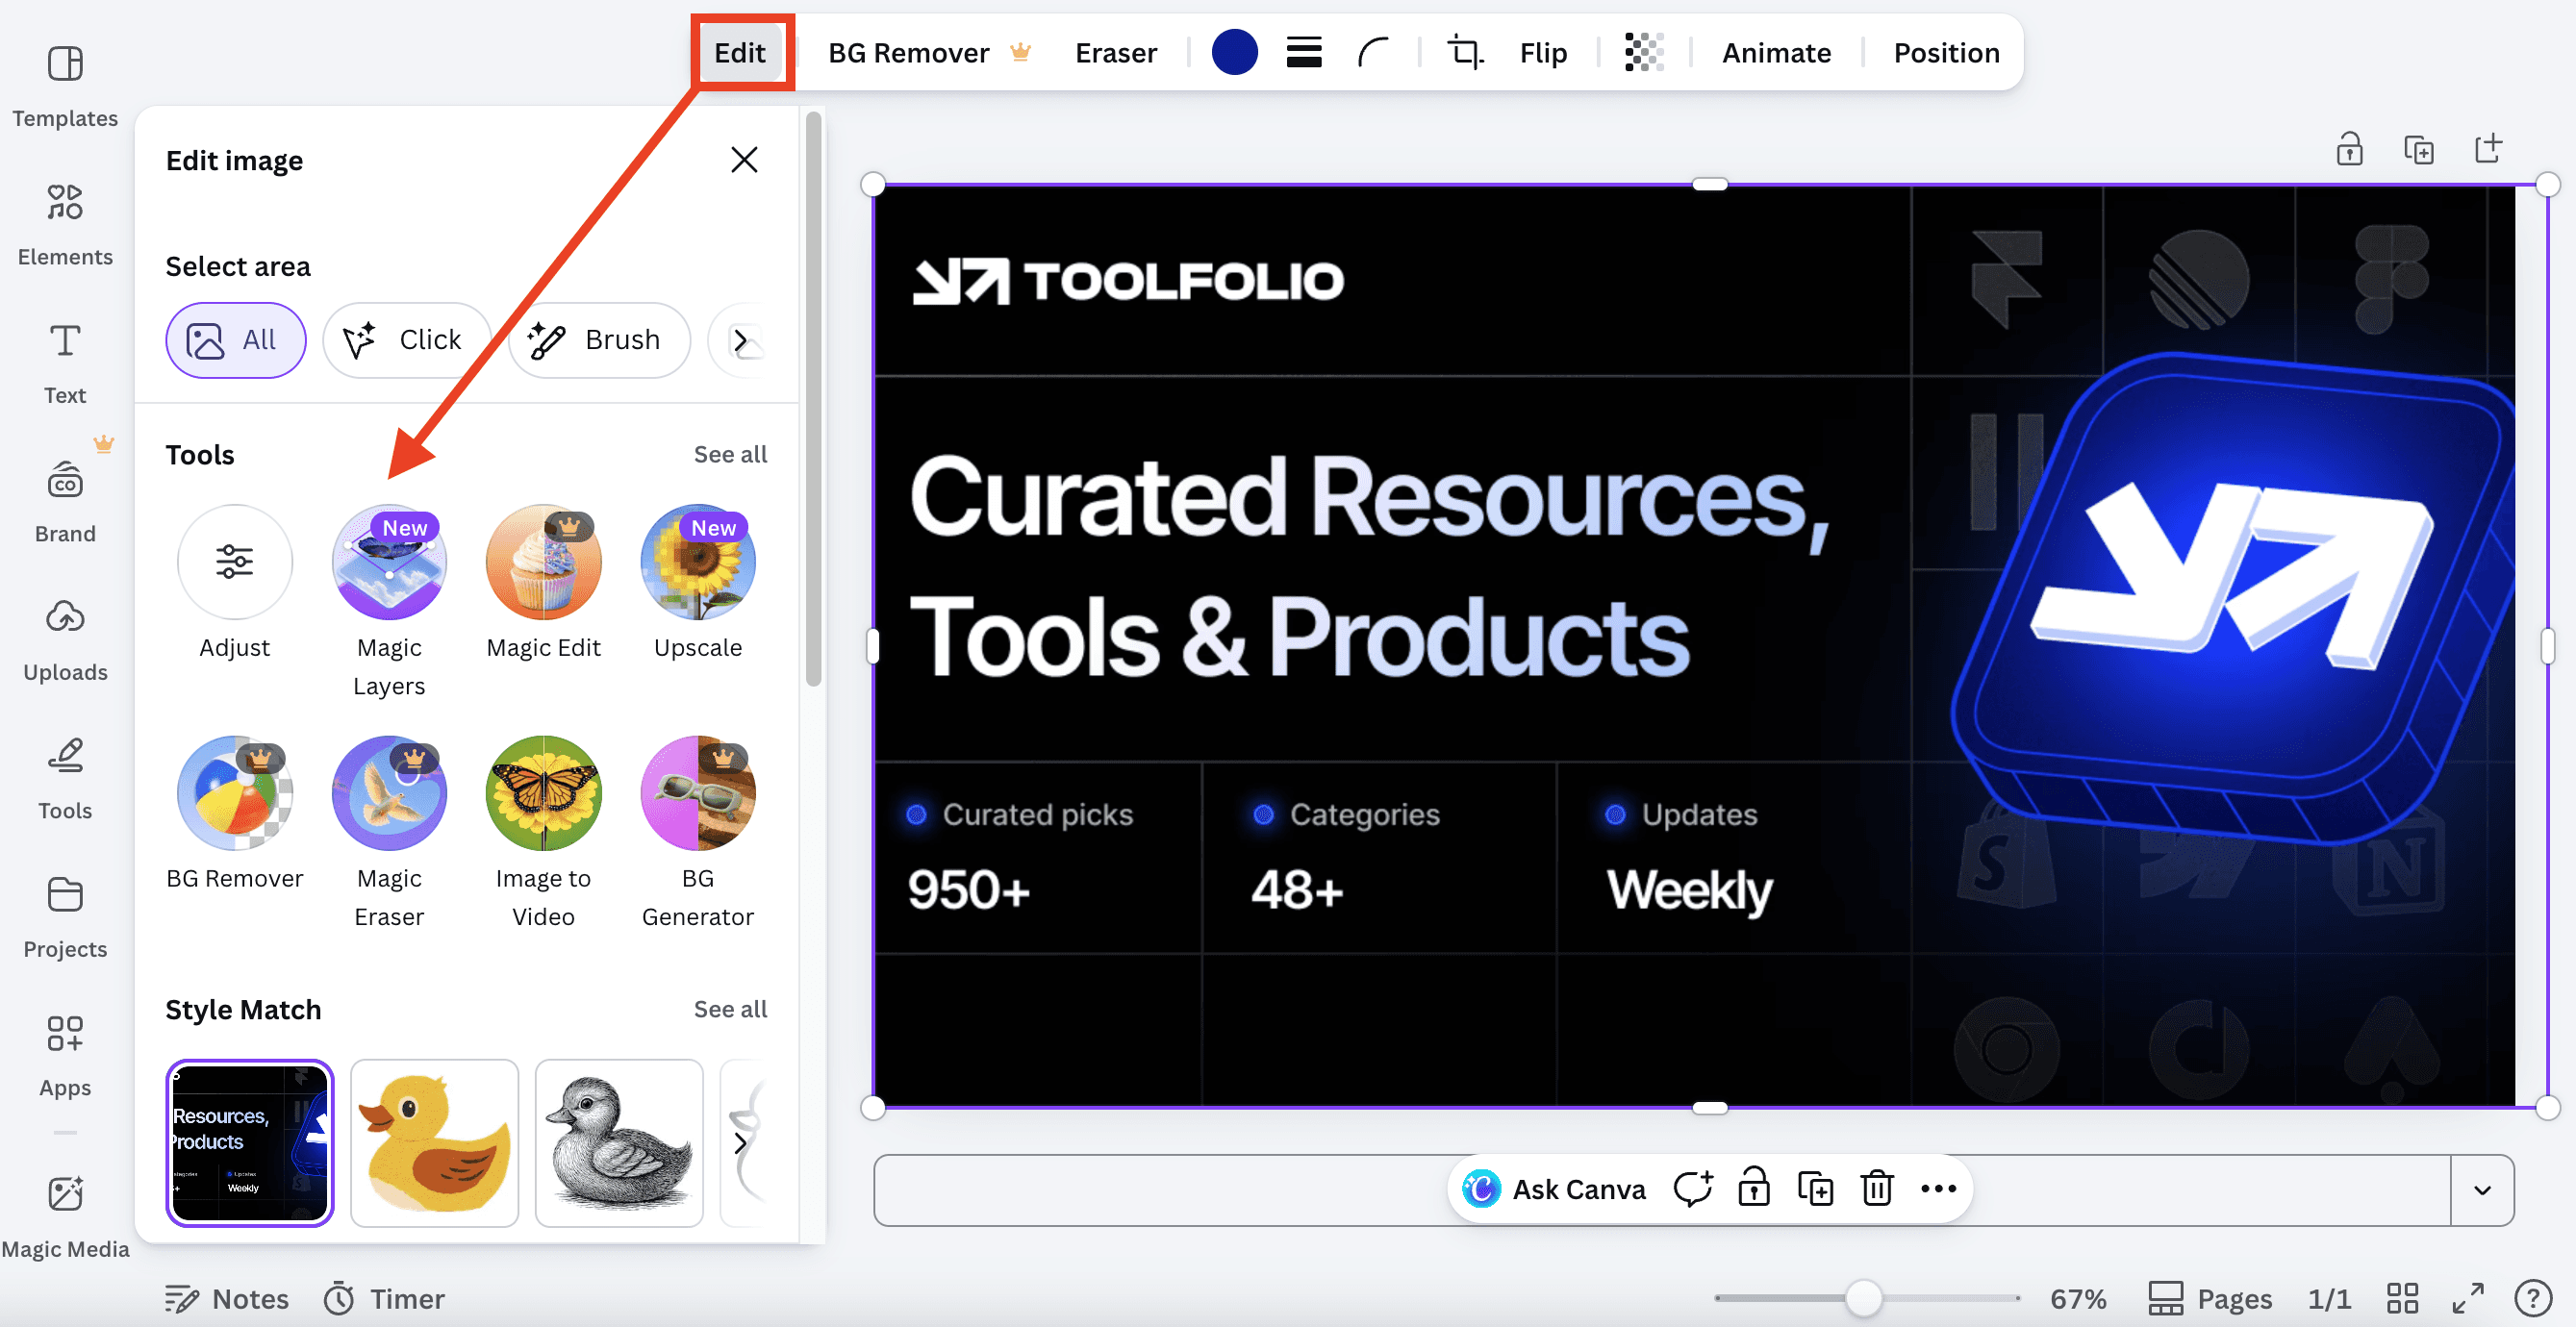
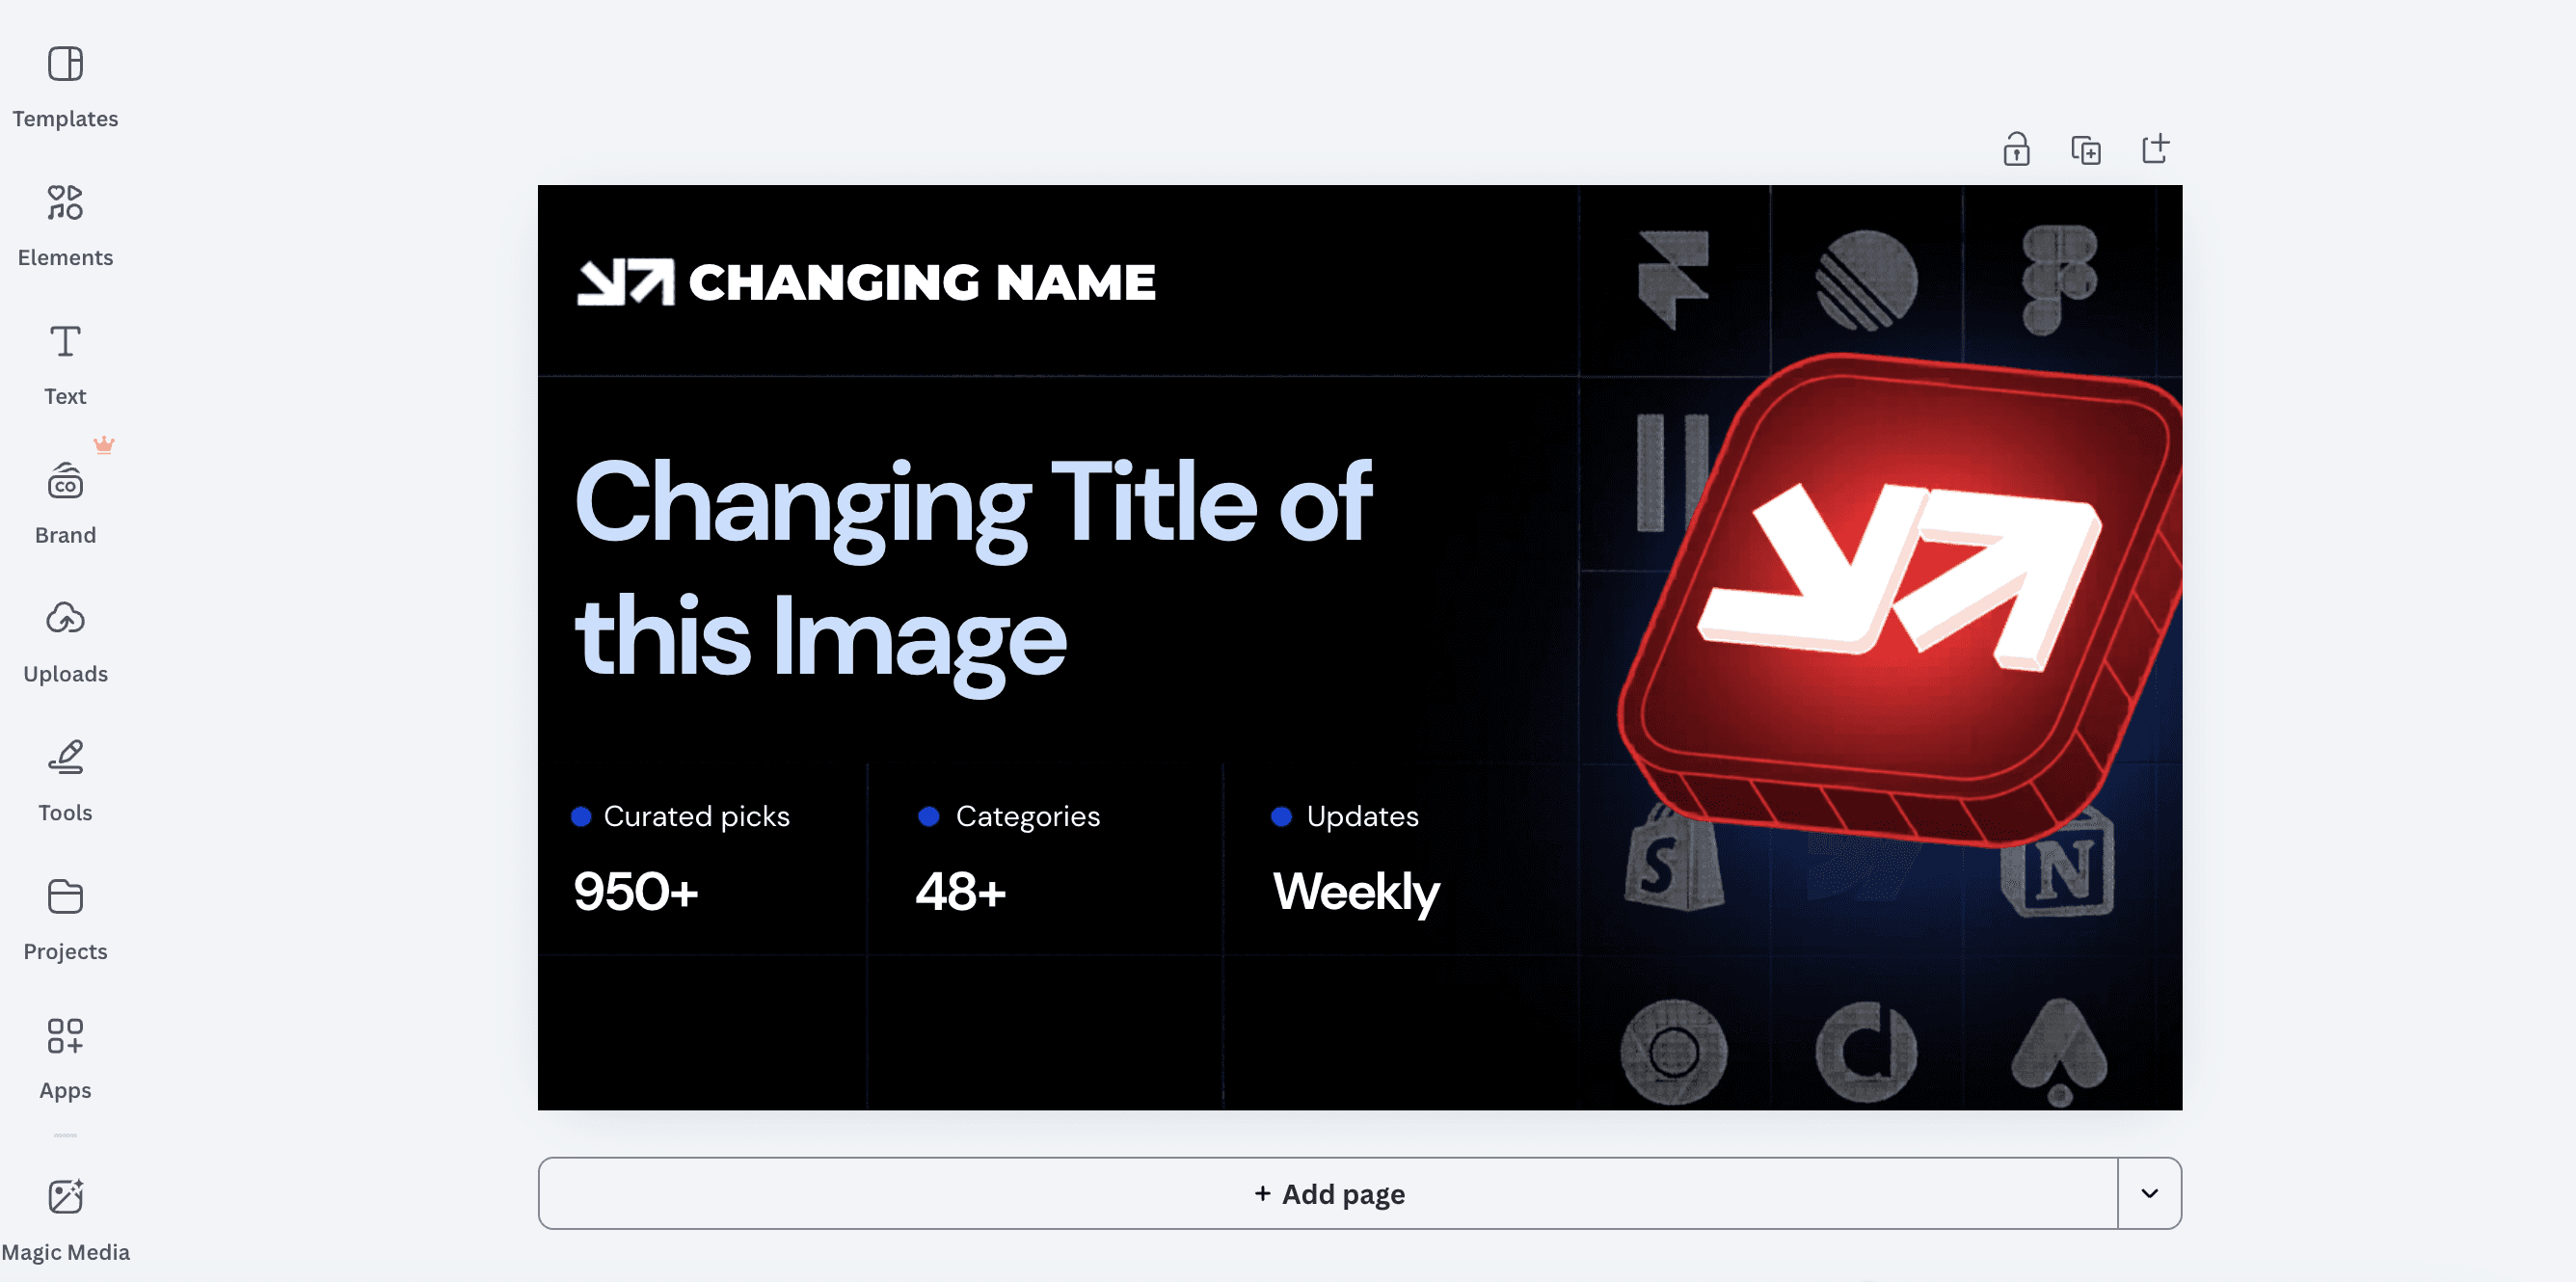
Inside the edit options, select Magic Layers. This will start processing your image to detect and separate different elements inside it.
Step 3: Wait for the image to process
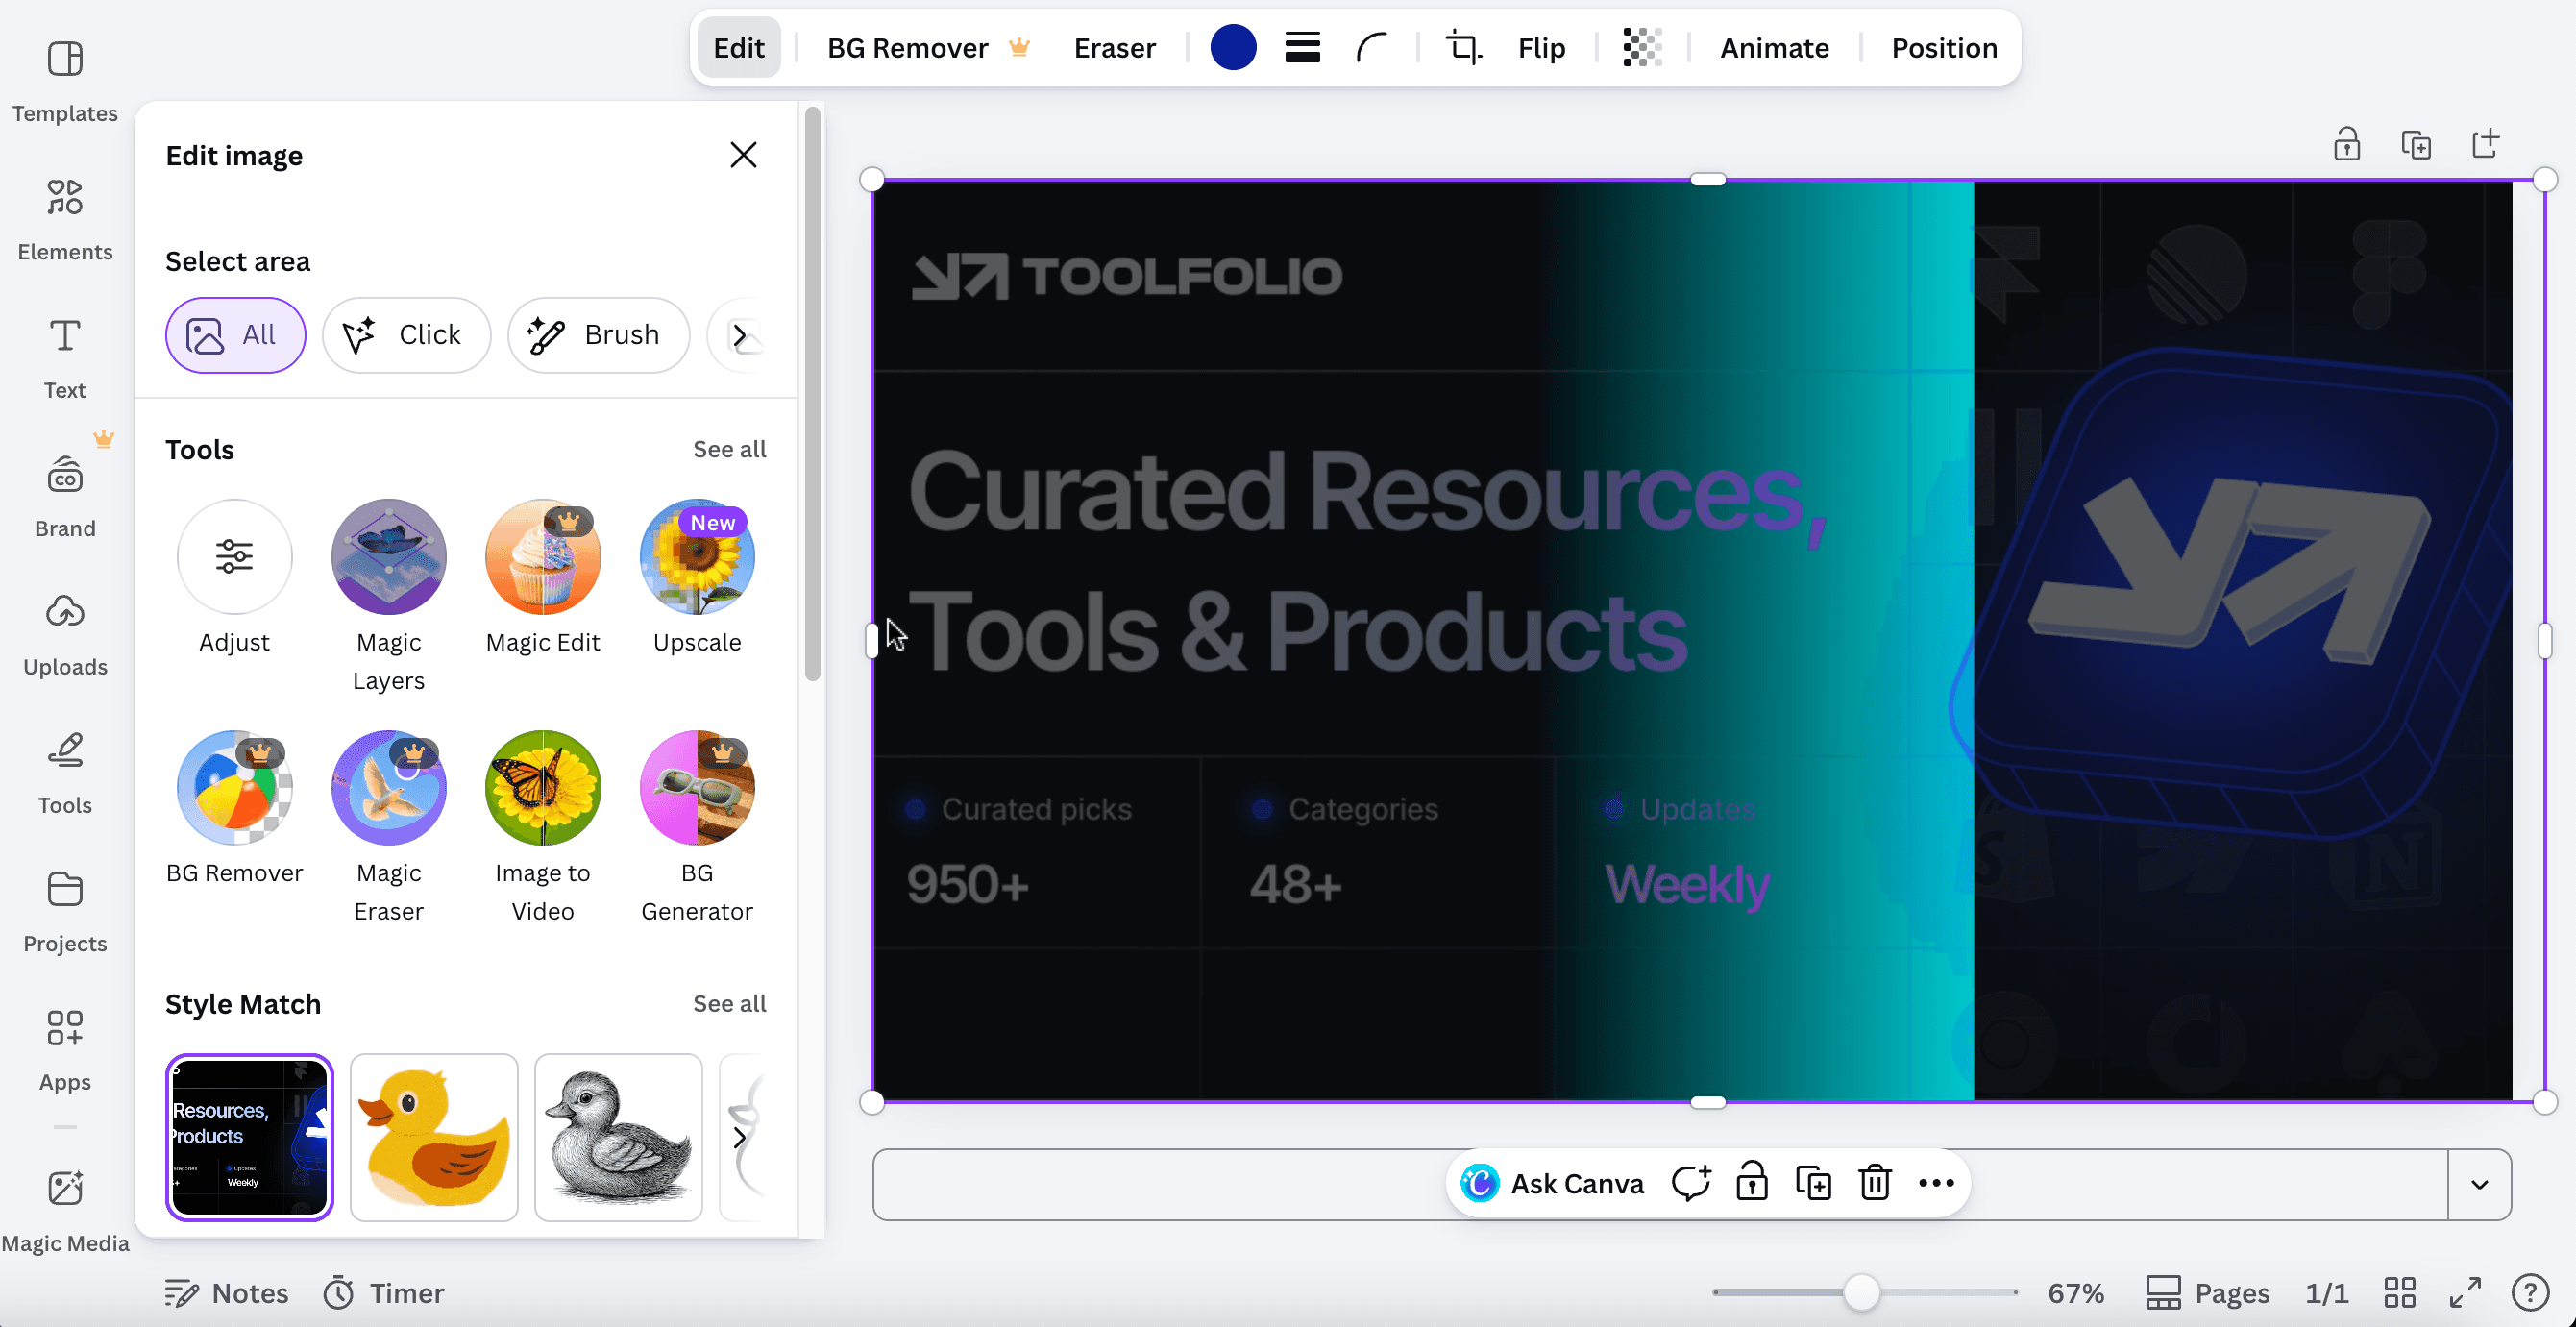
Give it a few seconds. The tool will analyze your image and break it into layers like text, objects, and background. The time depends on the size and complexity of your image.
Step 4: Select and edit individual layers
Once processing is done, click on any layer to edit it. You can move elements, delete unwanted parts, resize objects, or apply effects.
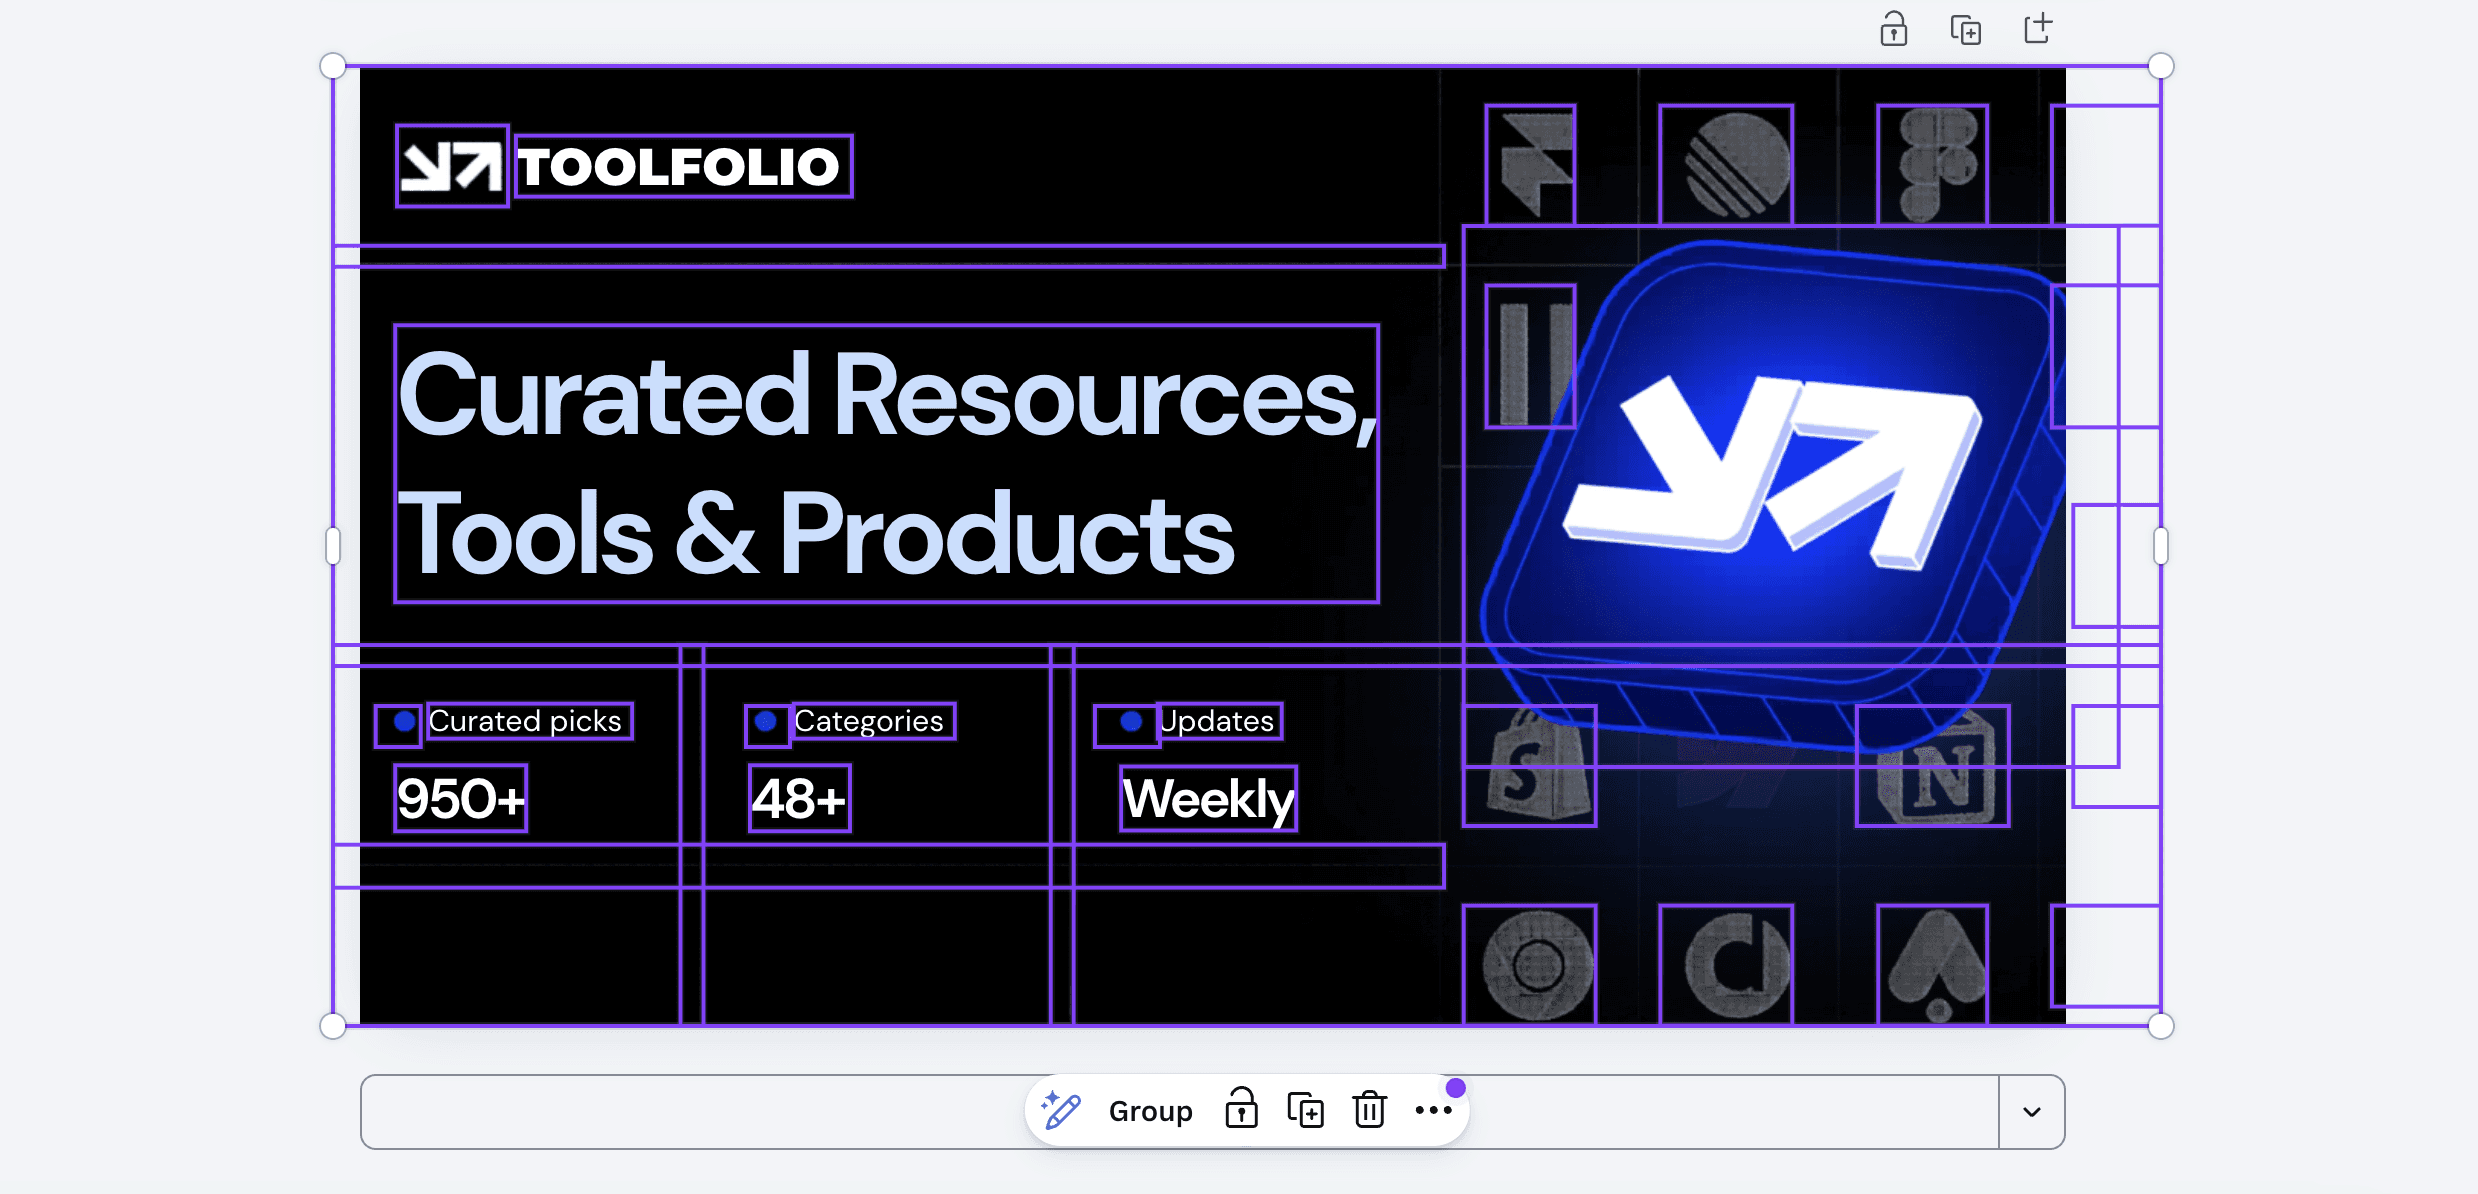
Each part of the image now works independently.
Step 5: Make changes to your design
You can now adjust your image freely. Move elements to new positions, replace parts with new graphics, or clean up your design without affecting the whole image.
What You Can Do After Separating Layers
Once your image is split into layers, you can control each part on its own. You can move elements to new positions, delete anything you do not need, and resize parts without affecting the full image.
You can also apply effects to specific layers or replace elements with new images or graphics to update your design.
This works with JPG and PNG files that contain a single image. If your file is a PDF, you need to convert it into a JPG or PNG before uploading.
Results depend on the type of image you use. It works best with simple designs, illustrations, and visuals where elements are clearly separated. Photo-realistic images may not break into clean layers.
Only single-page images are supported, and very large images above 5000px on the longest side may not process properly.
Wrapping Up
Separating layers from an image makes editing simple. You do not need to recreate the design or use complex tools. You can upload your image, let it split into elements, and edit each part on its own.
This method works best when your image has clear, distinct elements. Once processed, you can quickly fix text, move objects, or clean up your design without starting over.
More resources:
You May Also Like


Featured Tools


Newest Additions


AI Image & Video Generation


Vibe Coding Library


Screenshot & Screen Recording Tools


