
How to Change Image Perspective in Canva (Step-by-Step Guide)
Learn how to tilt, skew, and adjust image perspective in Canva to make photos look more dynamic and better fit your design.

Dudu
Dec 30, 2025

Last Updated Dec 30, 2025
Image Credit: Toolfolio
Changing image perspective is a simple way to make photos look more realistic and better aligned in a design. Canva makes this easy with built-in tools that let you tilt, skew, and stretch images without needing Photoshop.
This tutorial shows how to change image perspective in Canva step by step. You will learn how to use the edit handles, distort tool, and a few quick adjustments to make your images fit naturally into any scene.
What is Skewing or Perspective
Skewing or changing perspective is the process of adjusting an image so its angles match a different viewpoint. Instead of keeping the image flat and straight, you pull or push the sides to make it look tilted or positioned in space.
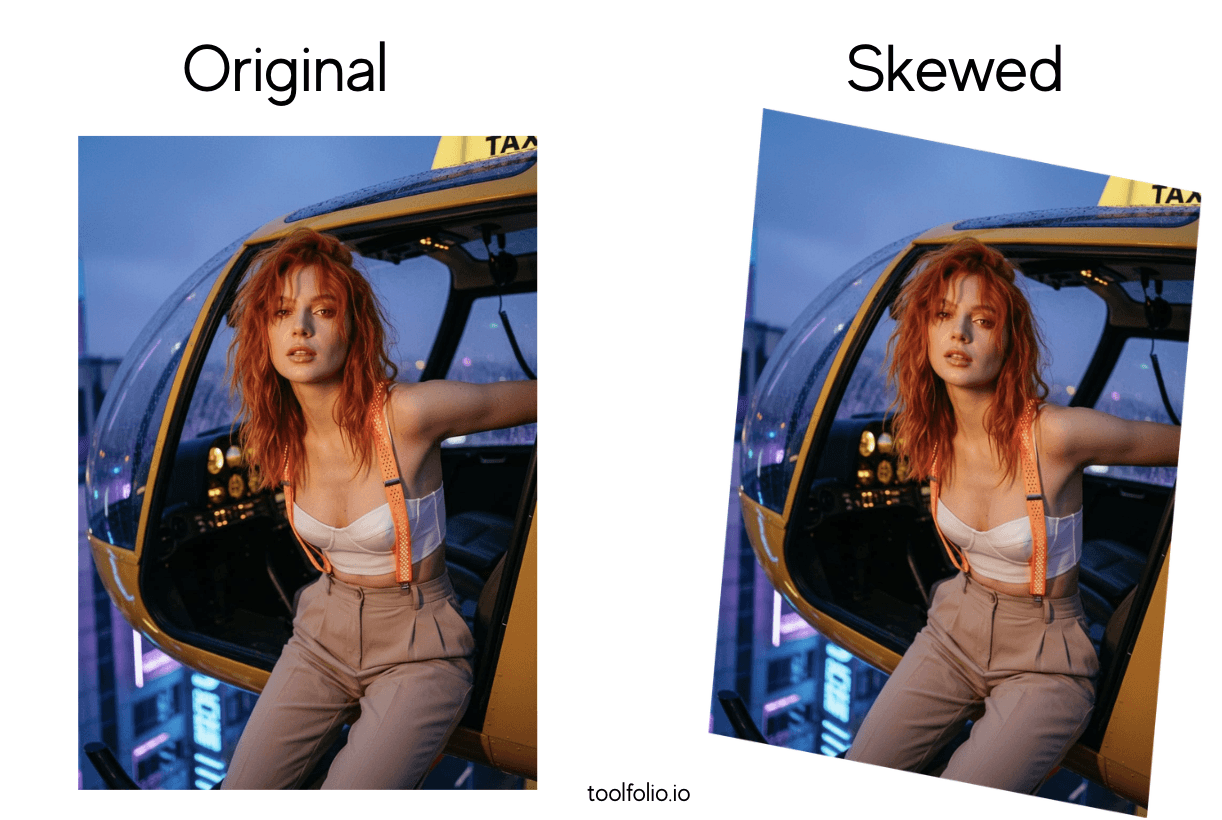
This creates depth and helps the image blend into a scene, like placing a screenshot on a laptop screen or making a photo match the angle of a notebook.
In design, perspective edits are useful when you want an image to look like it belongs in the real world instead of sitting flat on the canvas. Skewing makes objects feel more natural, especially in mockups, product demos, and layouts where you need visual alignment.
How to Change Image Perspective in Canva
Canva offers built-in tools and simple apps that let you skew, tilt, and adjust image perspective without advanced editing software.
Follow these steps to make your image match the angle of your design.
Step 1: Add Your Image to The Canvas
Open Canva and create a new design. Upload your image or choose one from the Photos tab.
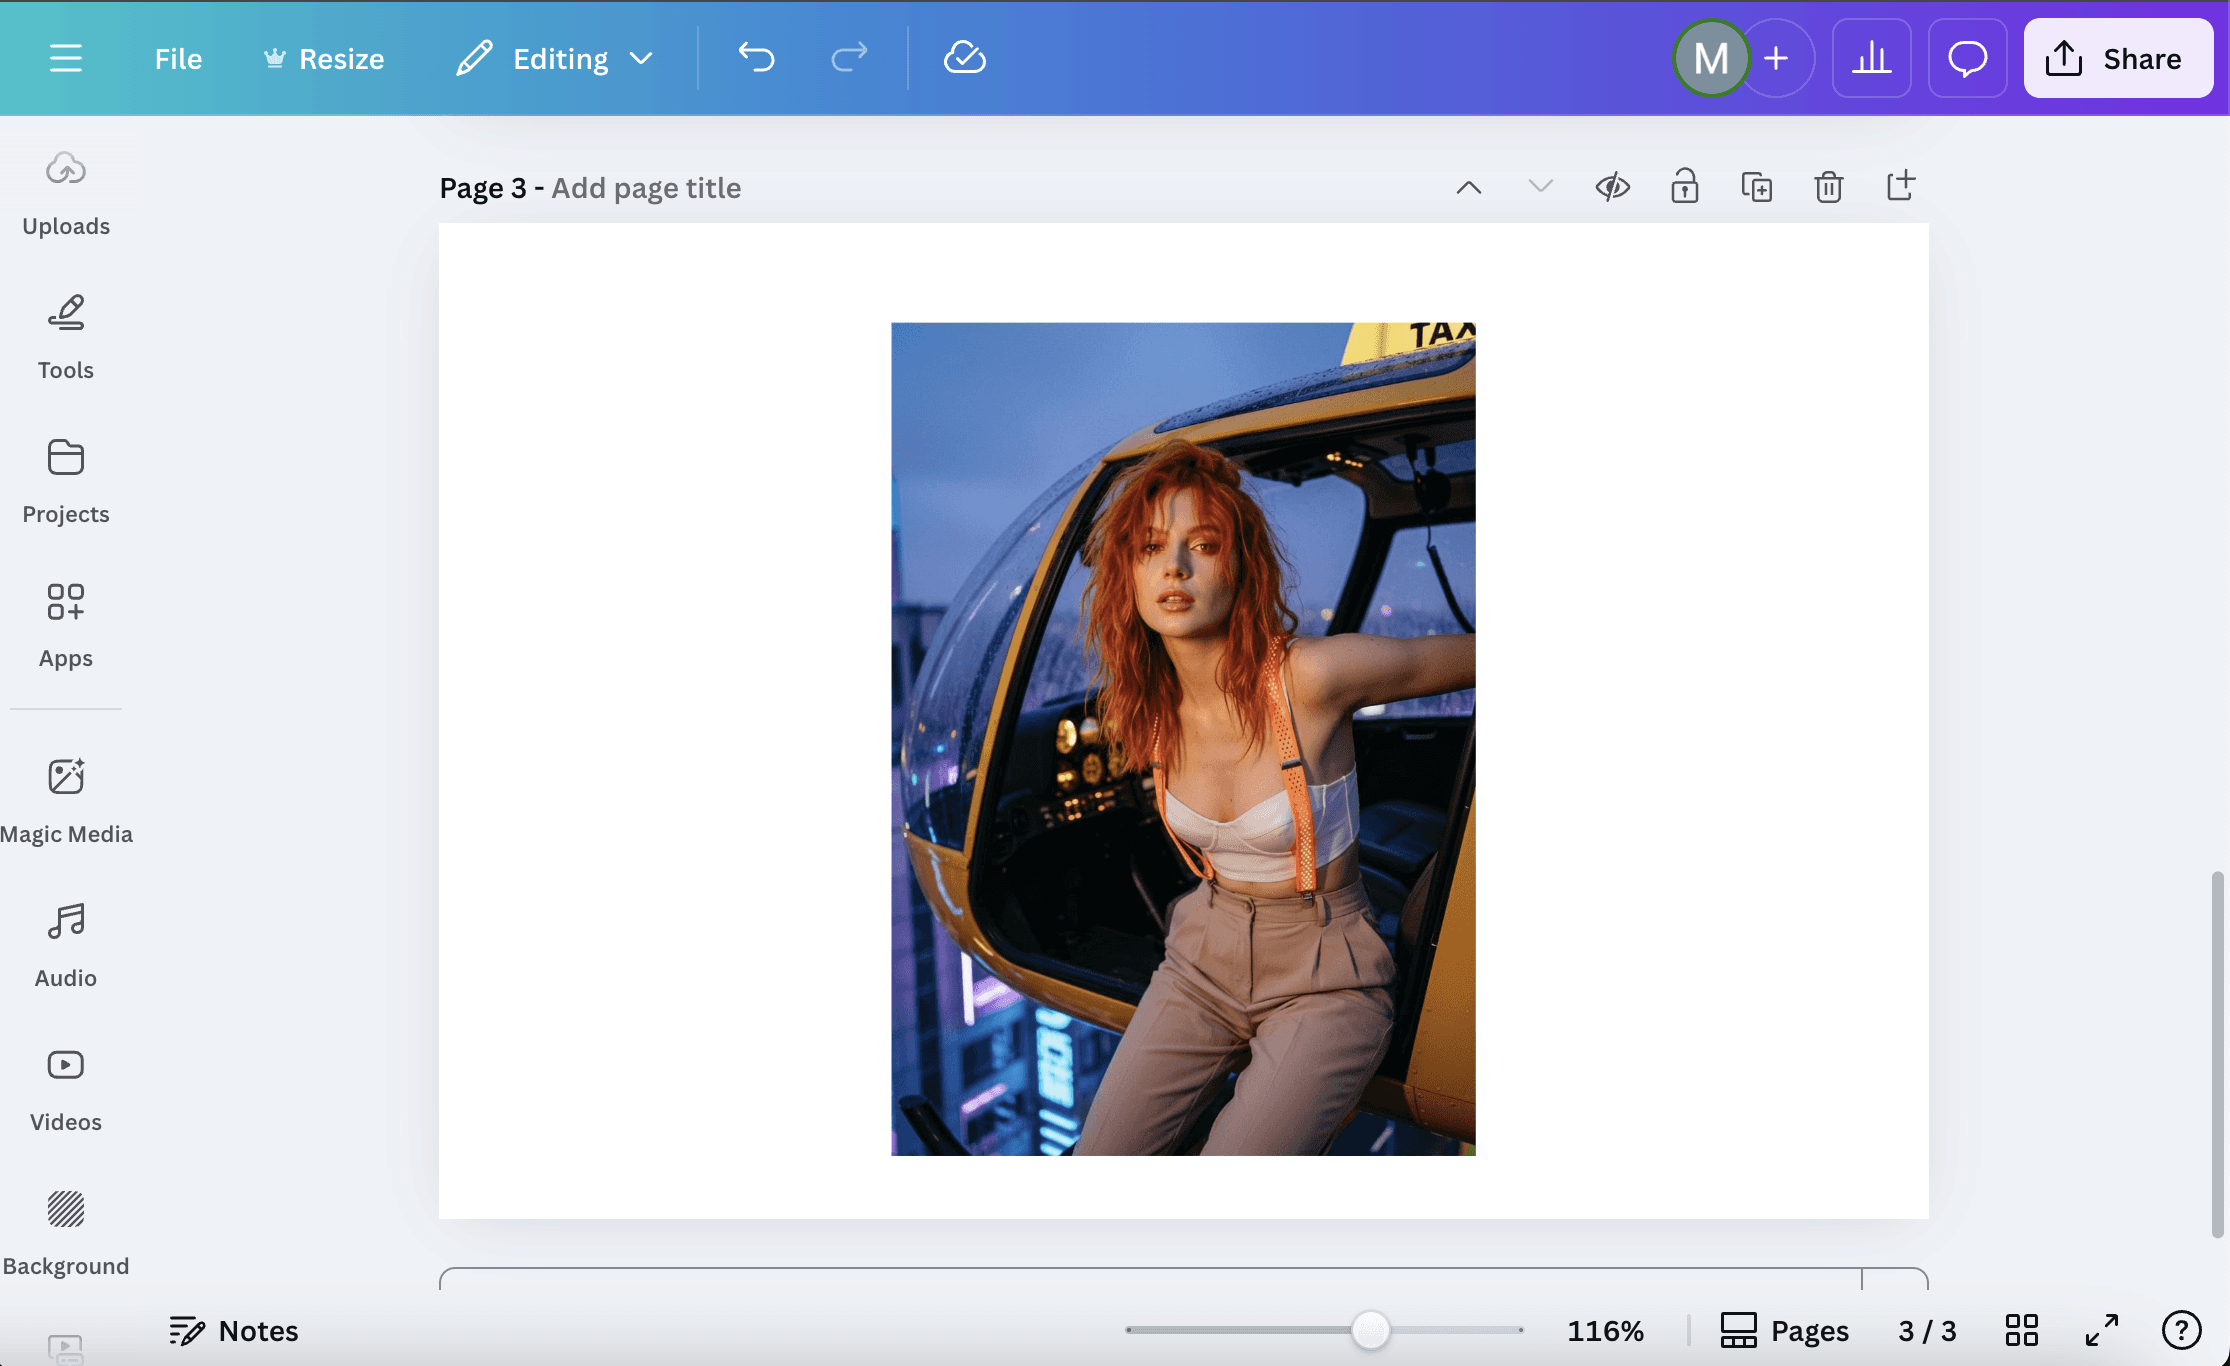
Place it on the canvas and resize it so you have enough room to edit the angles.
Step 2: Search for A Perspective App
Go to Apps in the left sidebar and search for Transform Image or Skew Image.
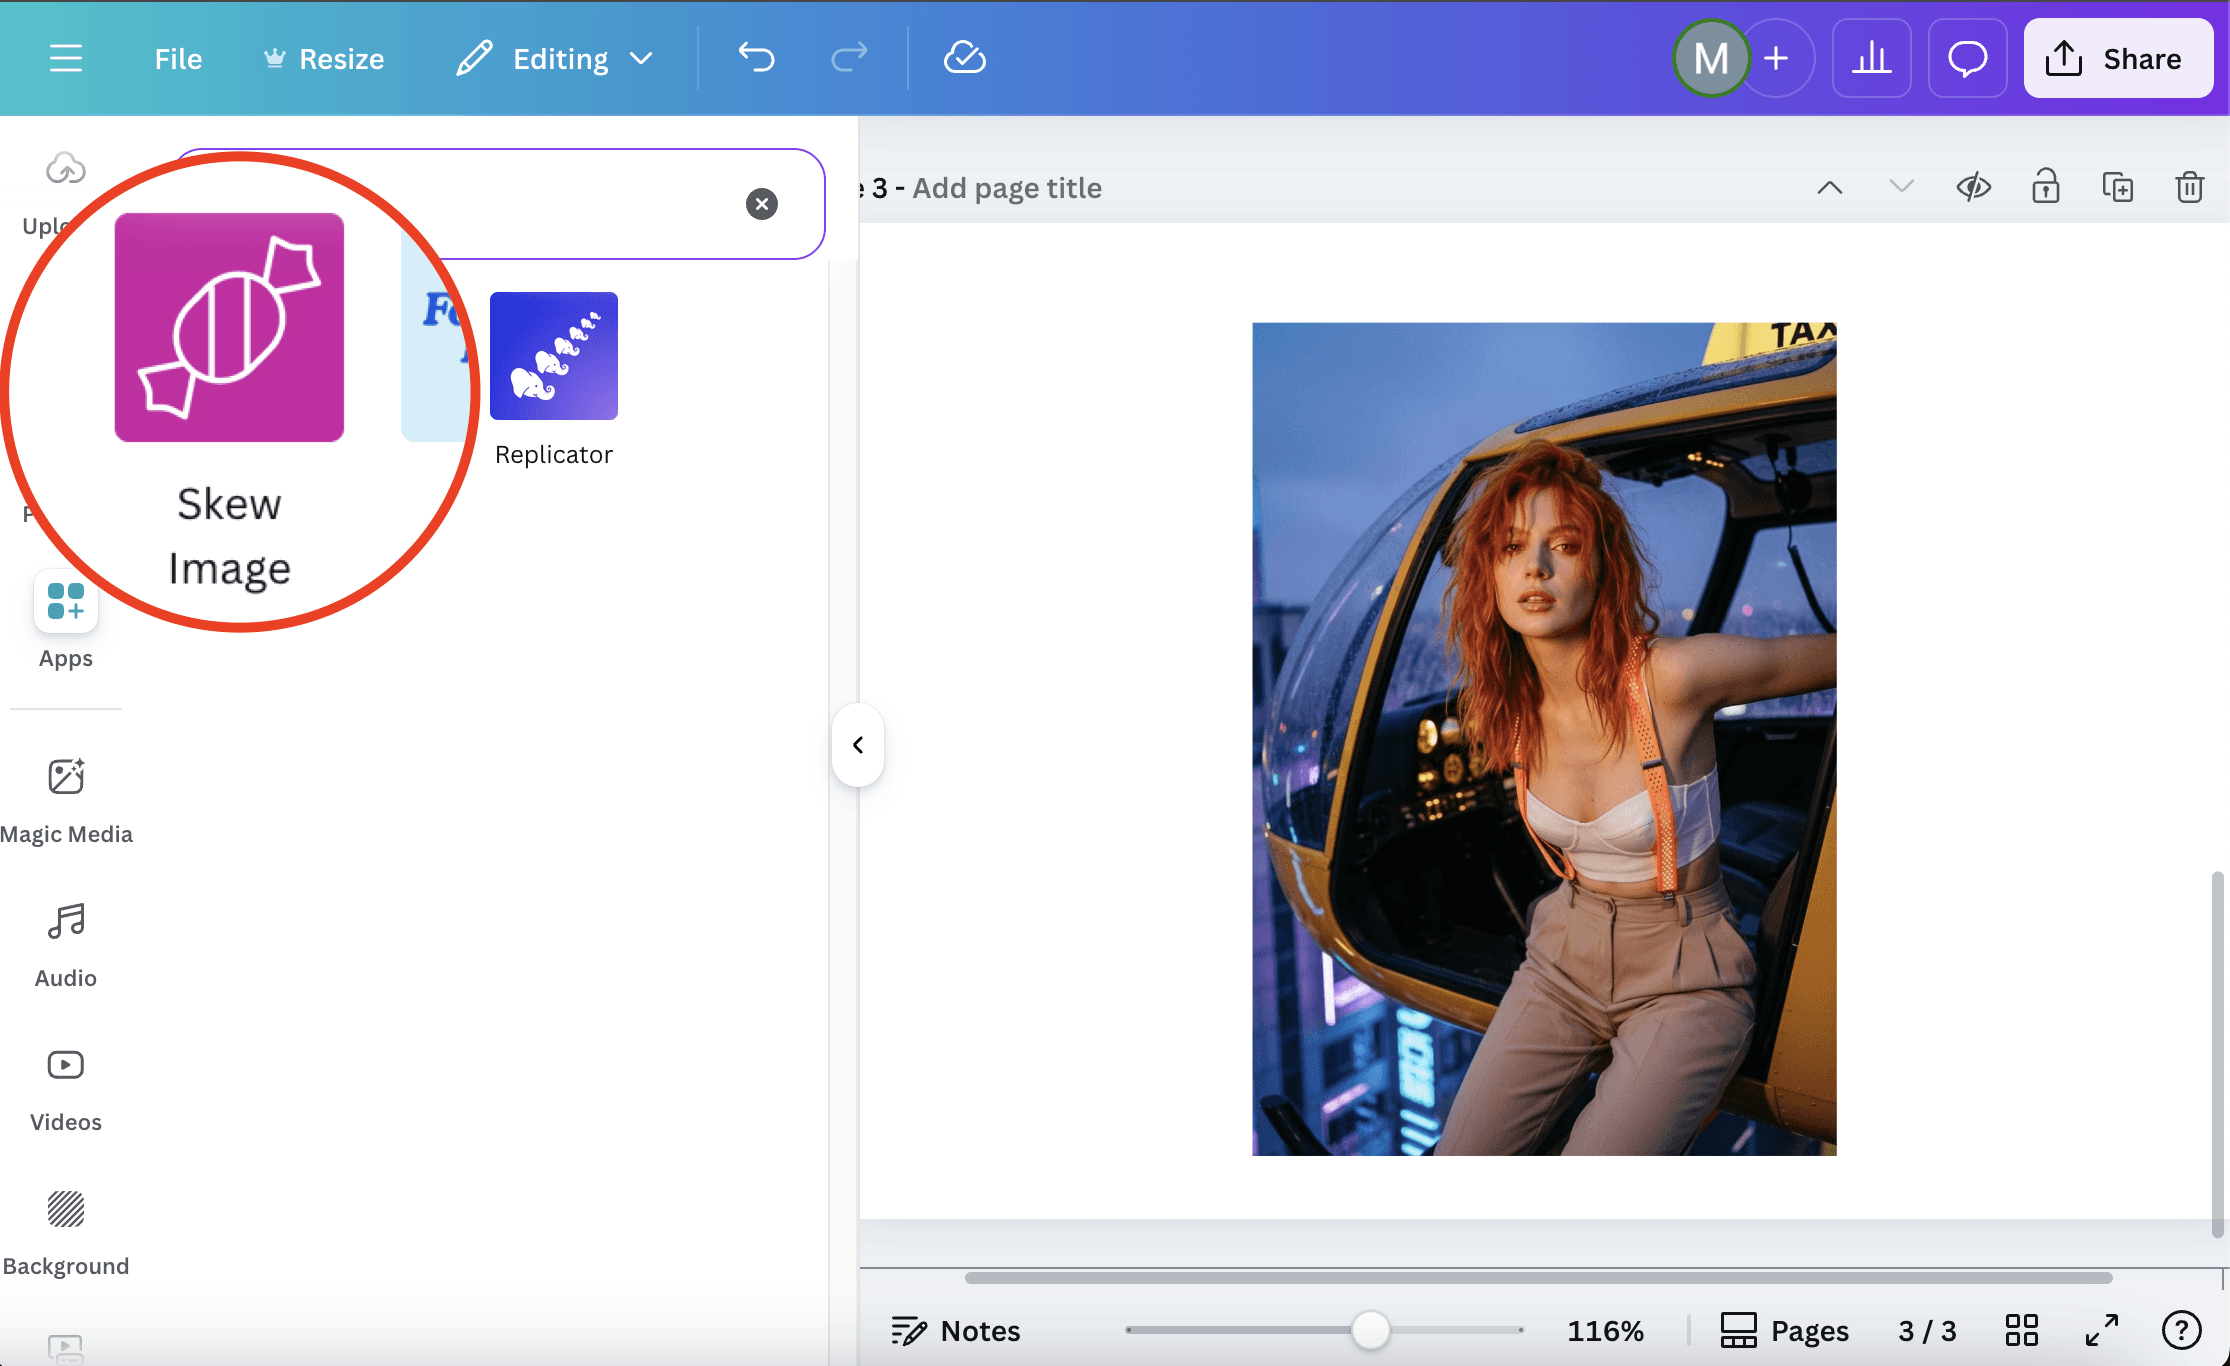
Click on one of them. These apps allow you to drag the corners of an image and adjust its perspective. For this tutorial am using Skew image you can use any app.
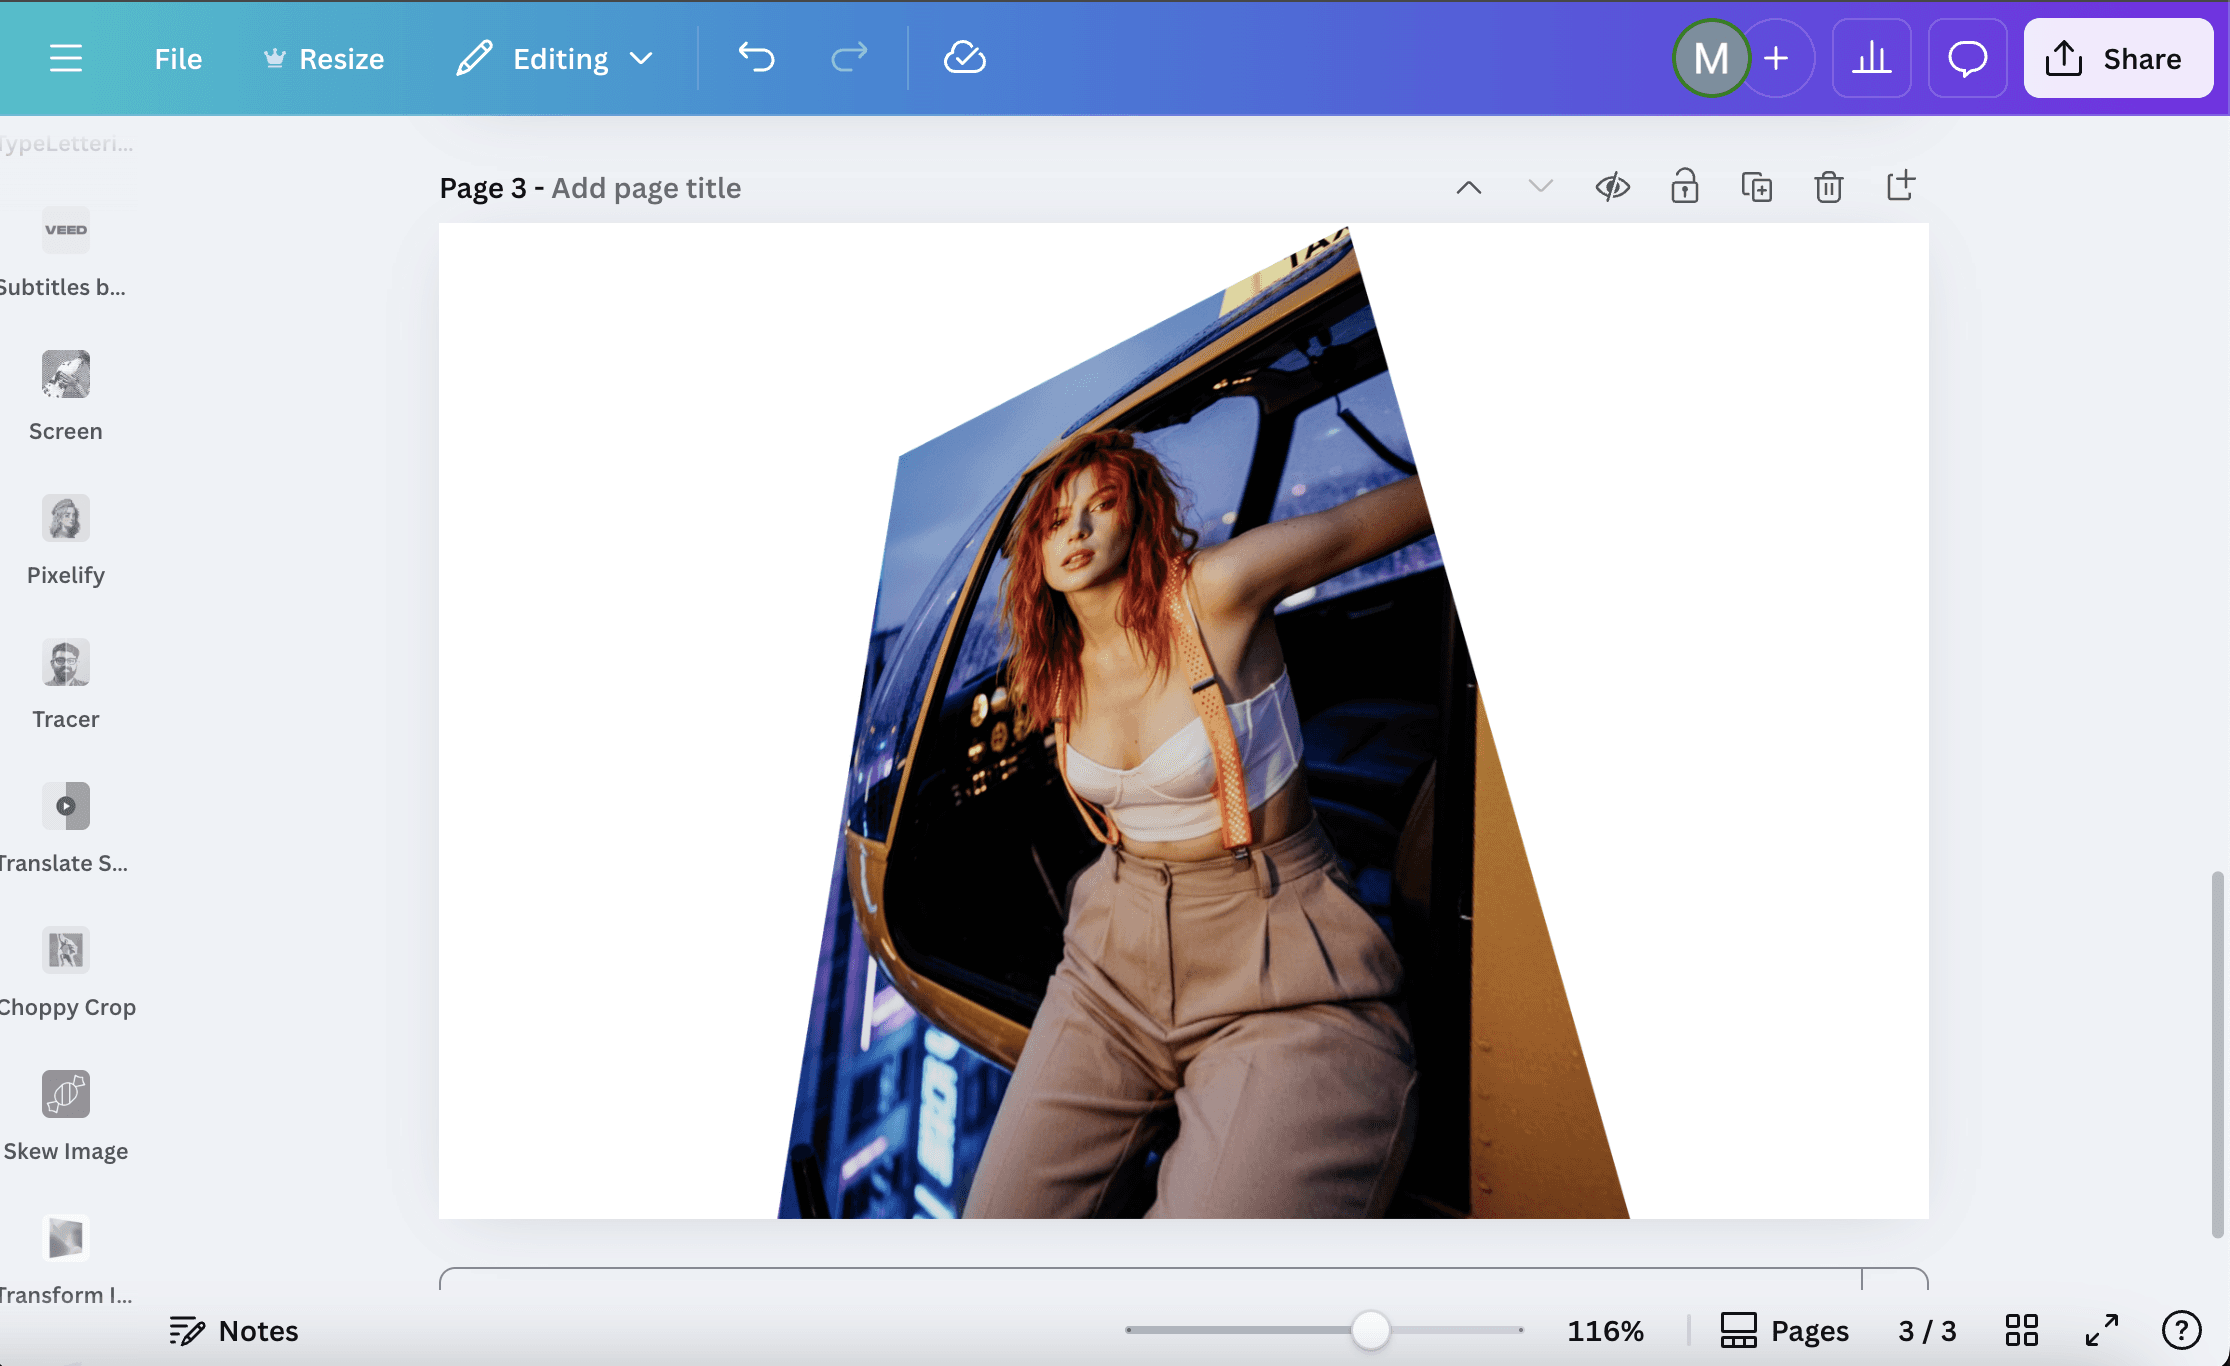
Step 3: Apply Perspective Controls to Your Image
Select your image and open the app. You will see draggable corner points or sliders.

Use the Horizontal and Vertical skew slider to tilt the image until it matches the angle you want. Small adjustments look more natural, so move slowly and preview as you go.
Step 4: Fine-Tune Alignment for A Natural Look
Click Add to Design to add the skewed image to the canvas. Resize and rotate the edited image to place it into your layout.
If the angle feels off, reopen the app and make small tweaks. Matching nearby lines or shapes in your design helps the perspective feel seamless.
And That's a Wrap
That is all it takes to adjust image perspective in Canva. With a quick skew or tilt, flat images fit better into scenes and mockups, giving your design more depth. Small changes make a big difference, and the built-in tools keep the process simple.
Do not forget to check out Toolfolio's awesome resources:
You May Also Like


Featured Tools


Newest Additions


AI Image & Video Generation


Vibe Coding Library


Screenshot & Screen Recording Tools


