
How to Remove Image Background in Figma (2 Easy Free Ways)
Learn how to remove an image background in Figma with a quick, simple method you can use in any design.

Dudu
Dec 3, 2025

Last Updated Dec 3, 2025
Image Credit: Toolfolio
Removing an image background in Figma is fast and practical once you know the right tools. Many designers waste time jumping between apps, but Figma now makes it possible to clean images without leaving your workspace. This keeps your process focused and saves you from extra steps.
A clean background helps any design look sharper. Whether you are building a landing page, a social post, or a product mockup, a clear subject makes your layout easier to read. This small change can lift the overall quality of your work.
In this guide, we'll walk you through the steps in the simplest way possible. So let's get started.
Method 1: Removing Image Background in Figma Using Photope's Magic Cut
Step 1: Launch the Photopea Plugin in Figma
Open your Figma file and go to the Resources panel by clicking the Resources icon or pressing Shift + I.
Switch to the Plugins tab and search for Photopea.
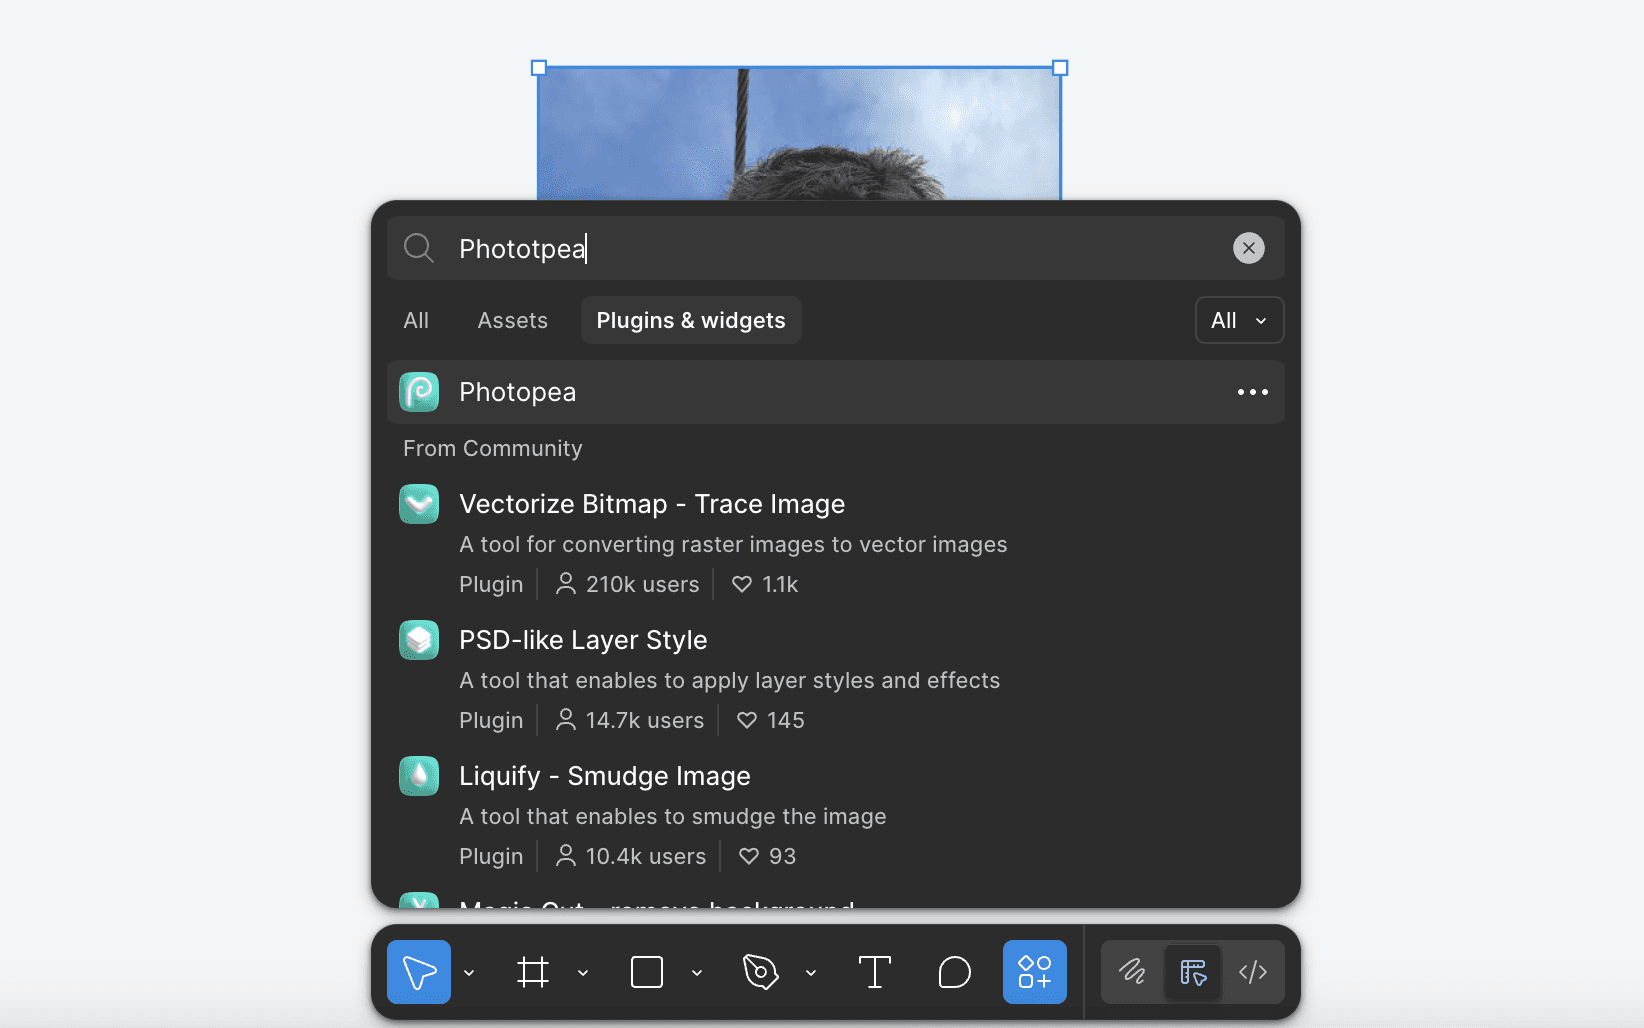
You do not need to install it, simply click Run to open the plugin.
You can also run it by right-clicking on the canvas and selecting Plugins > Photopea > Run.
This loads the Photopea editor directly inside Figma so you can start working on your image right away.
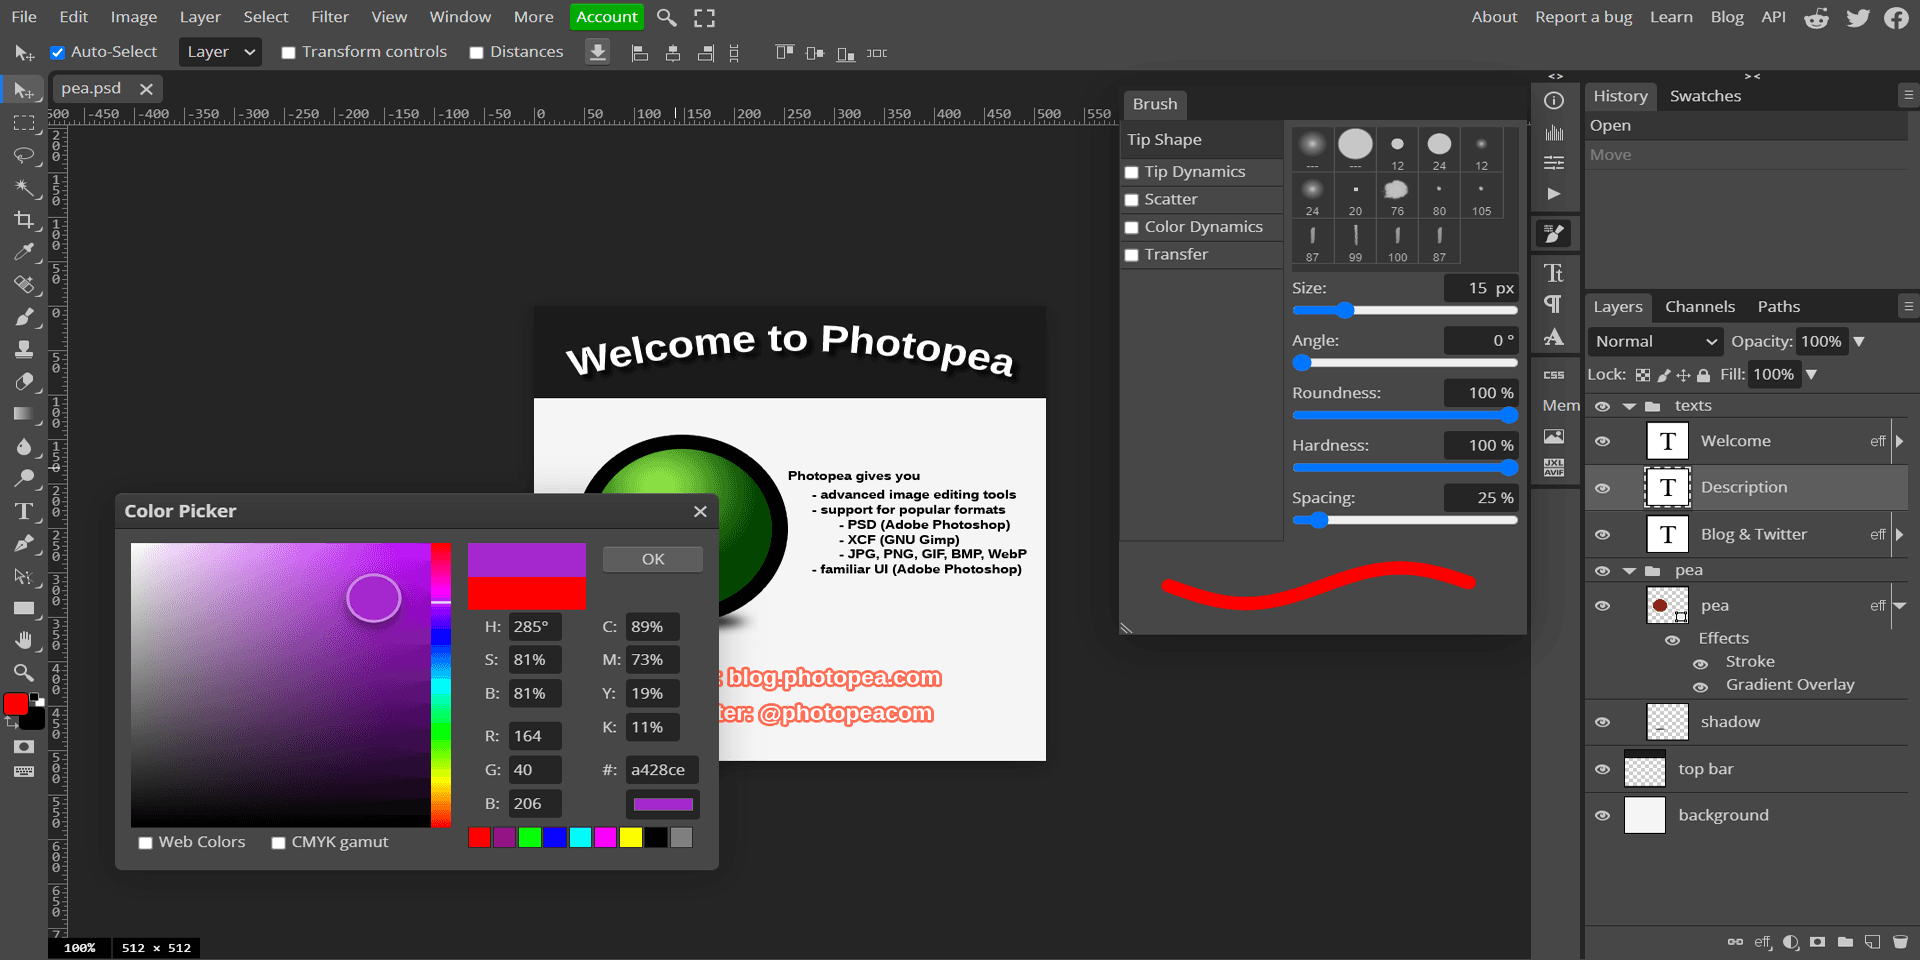
Step 2: Open Your Image Inside Photopea
Select the image in your Figma design that you want to edit.
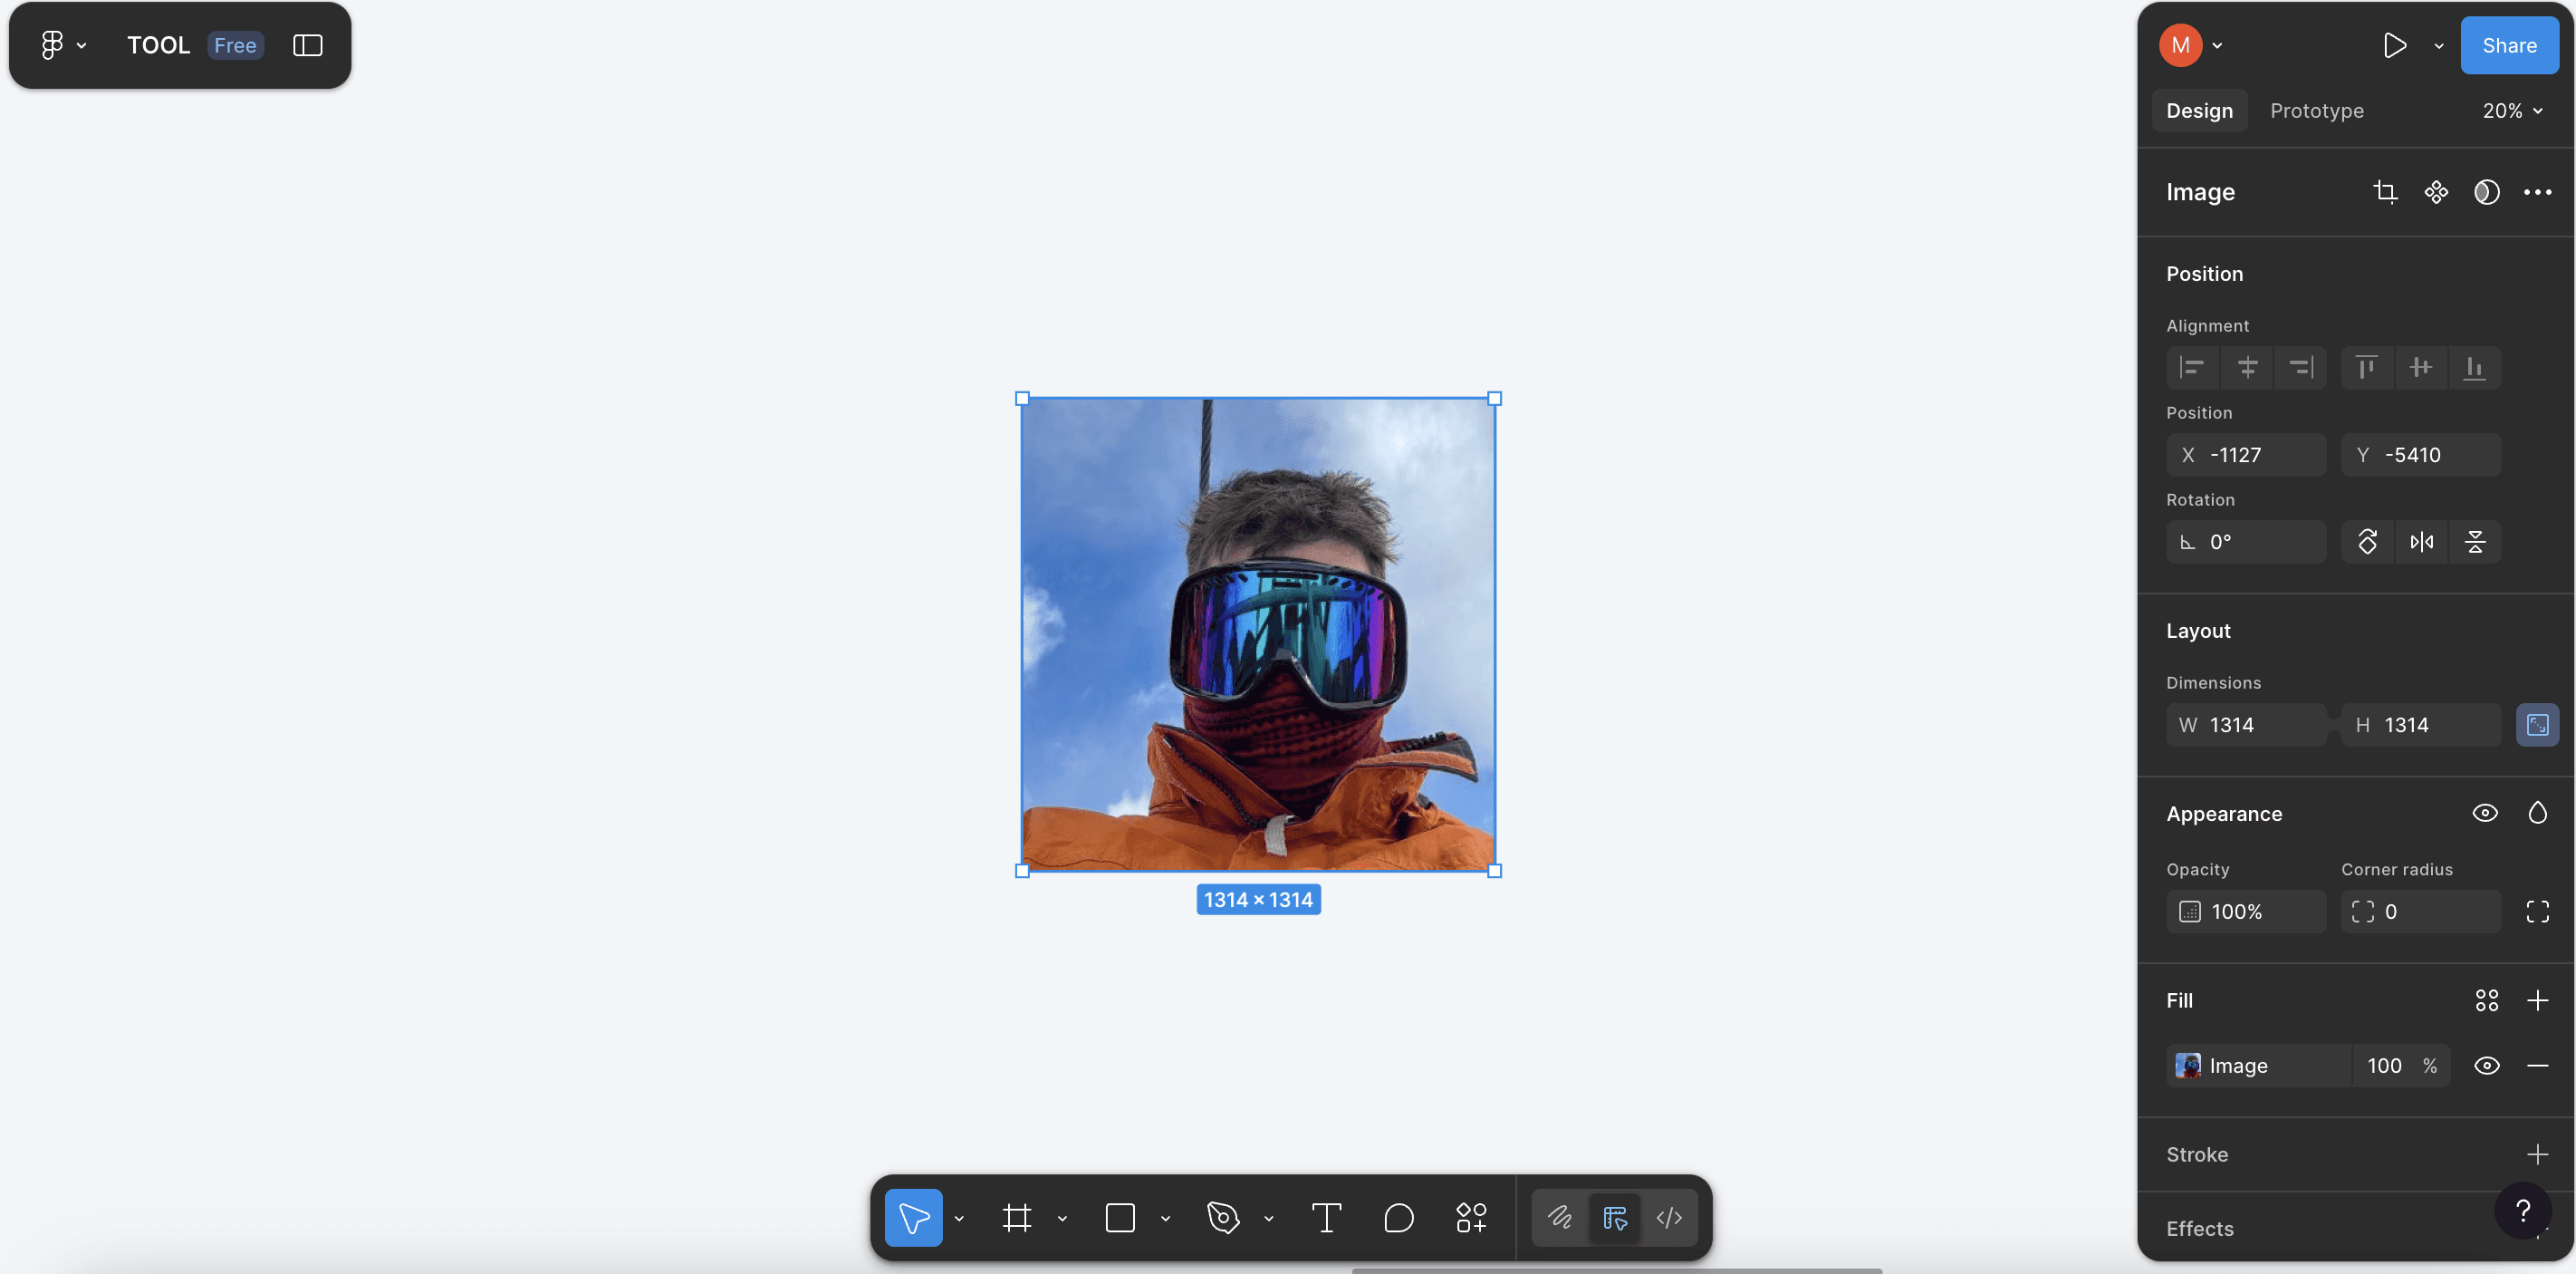
With the image selected, run the Photopea plugin, and it will appear inside a panel showing your image. Photopea mirrors many Photoshop-style tools, giving you full control.

To remove the background quickly, use Select > Remove BG, which applies AI-powered background removal in one click.
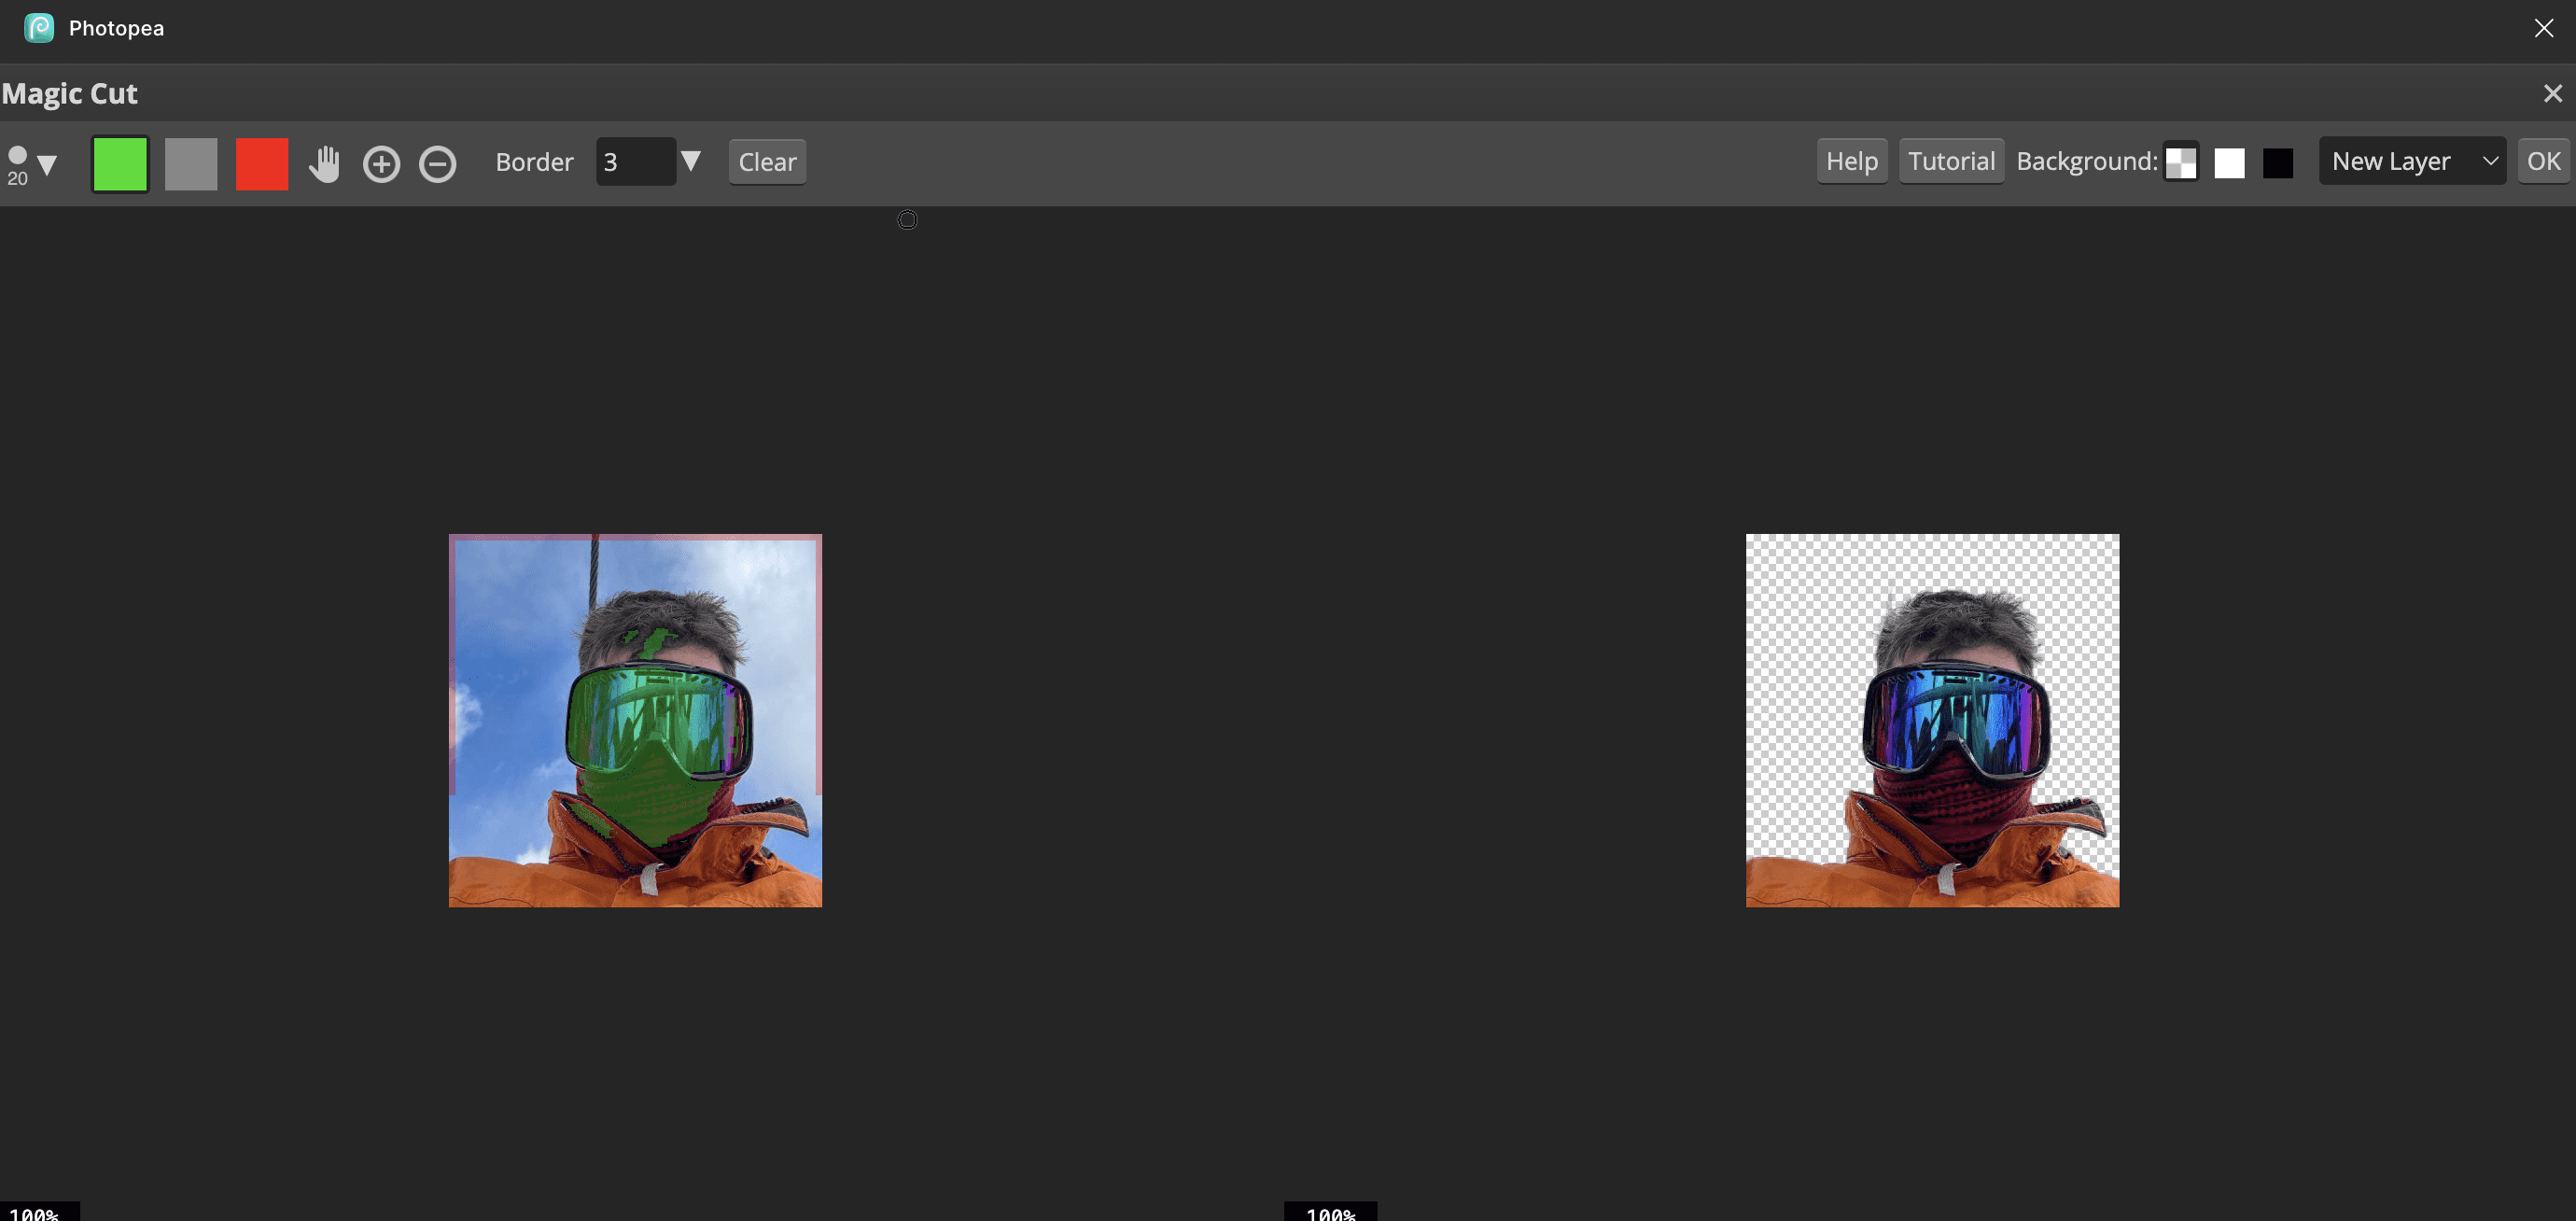
If you need more control, use tools like Magic Wand, Lasso, or Magic Cut to refine edges and clean up any missed areas.
Step 3: Apply and Save the Edited Image Back to Figma
After removing the background and making any adjustments, confirm the changes inside Photopea.
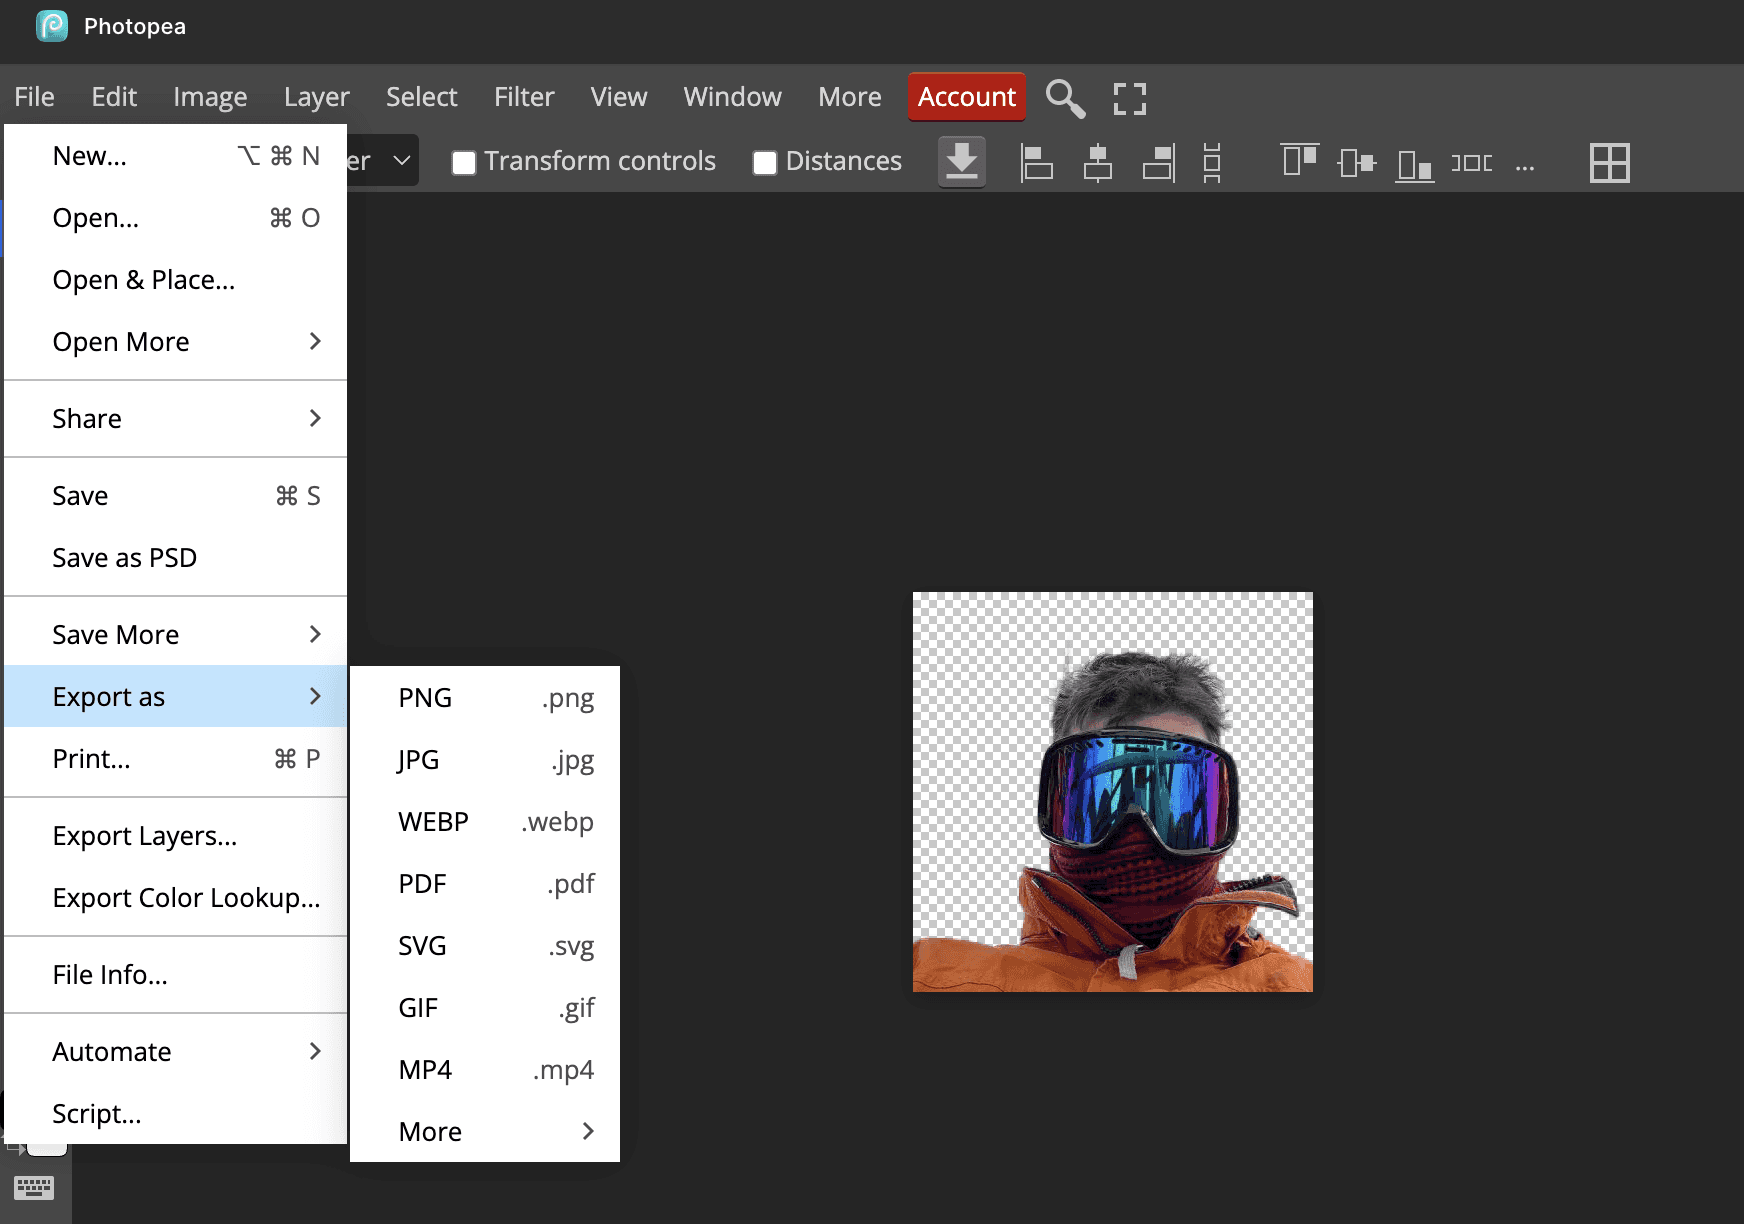
The plugin will not automatically send the edited image back into your Figma file. Make sure you go to Files, and click Export as before closing the Photopea tab.
Method 2: Using the Icons8 Background Remover Plugin
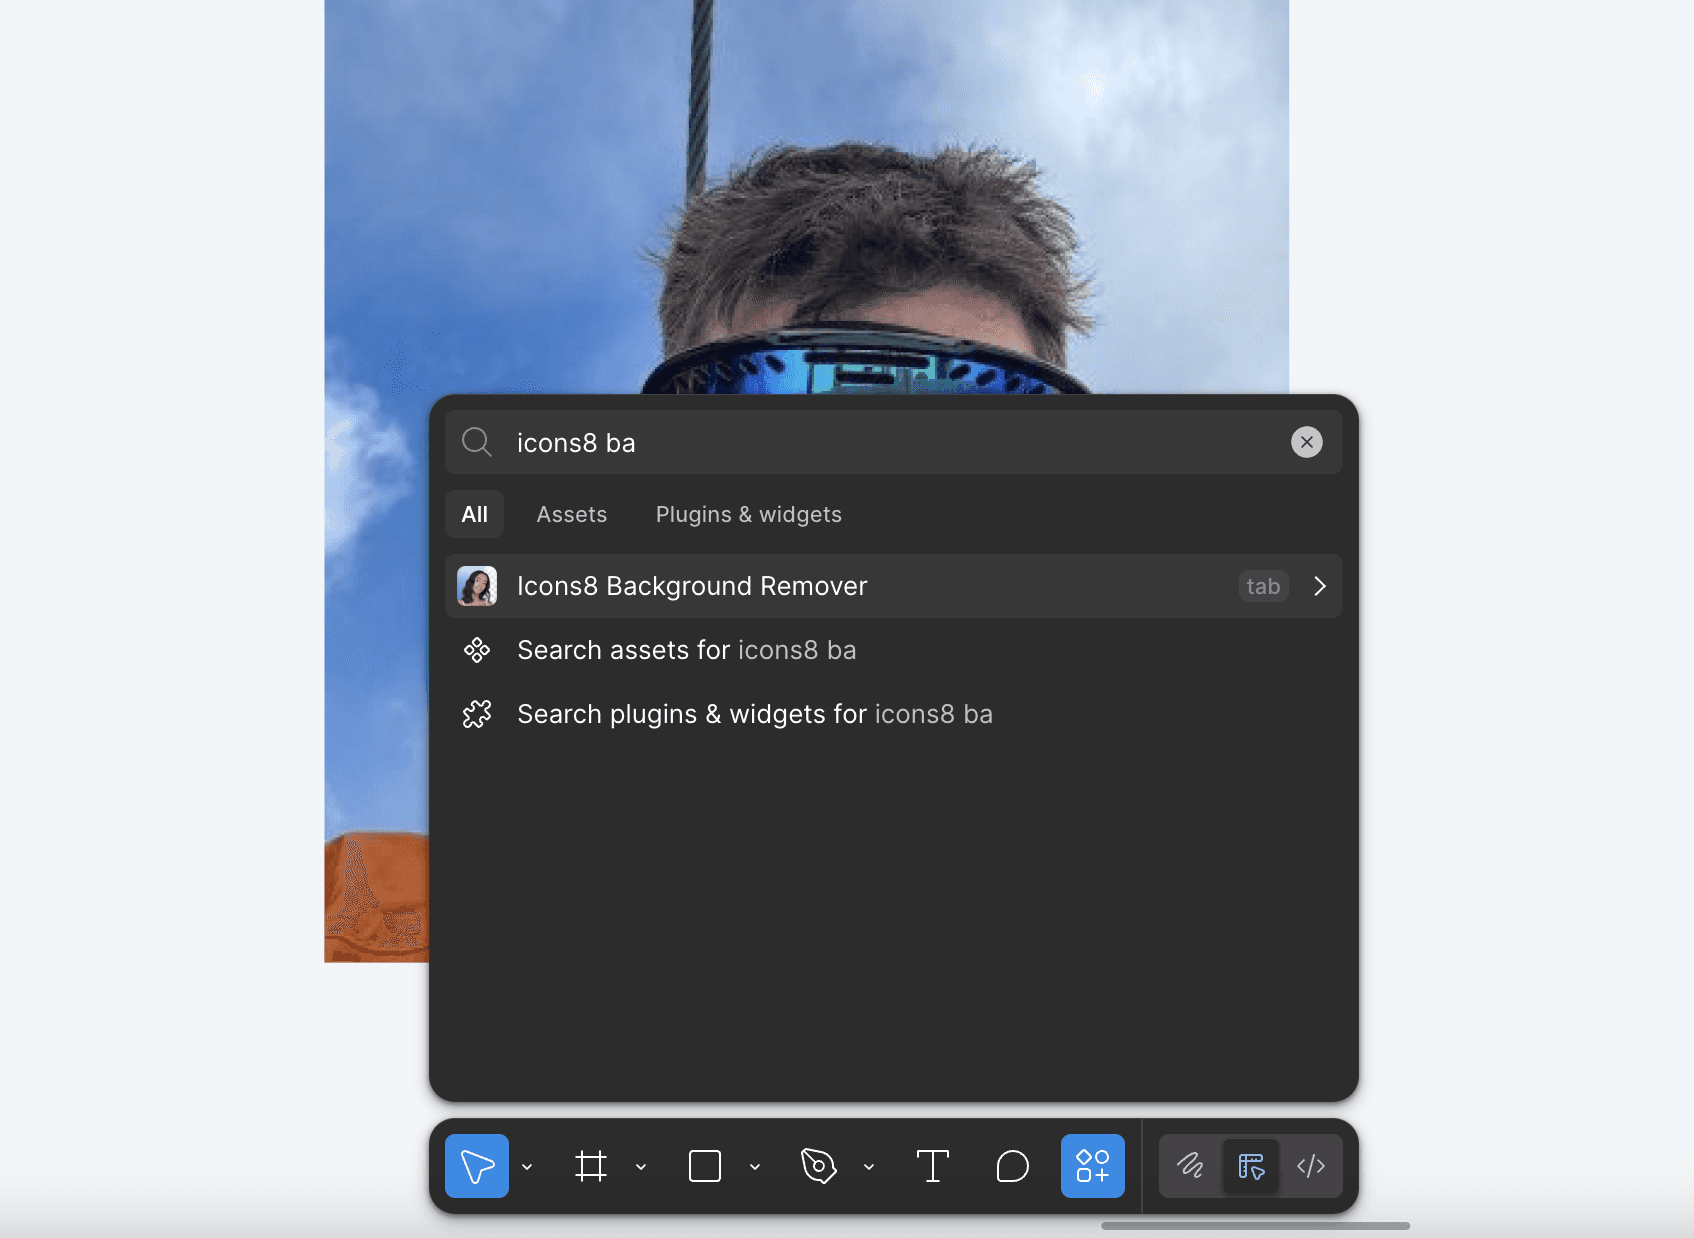
Step 1: Run the Icons8 Background Remover Plugin
Open your Figma file and select the image you want to edit.
Go to the Resources panel by clicking the icon or pressing Shift + I, switch to the Plugins tab, and search for Icons8 Background Remover.
You can run it directly without installing, click Remove Background to launch the plugin.
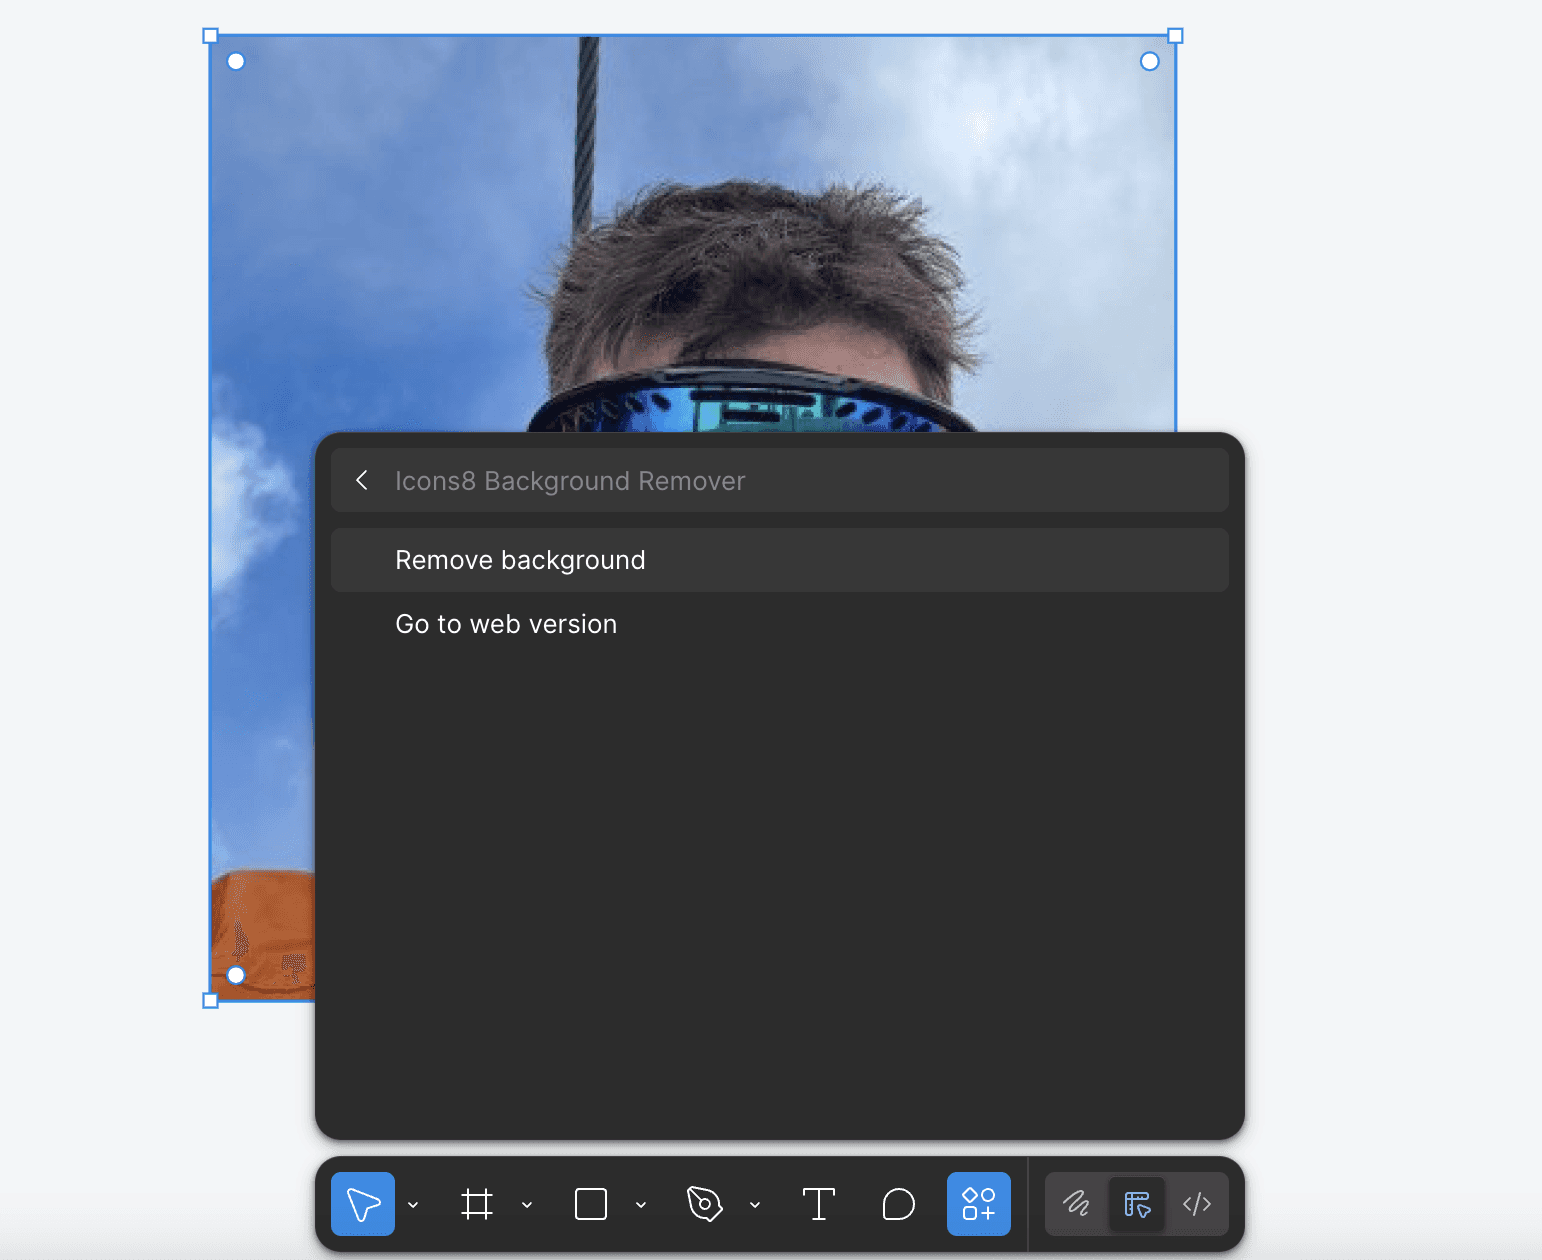
You can also access it by right-clicking your canvas and choosing Plugins > Icons8 Background Remover.
Step 2: Remove the Background Automatically
Once the plugin opens, it will process your selected image automatically.
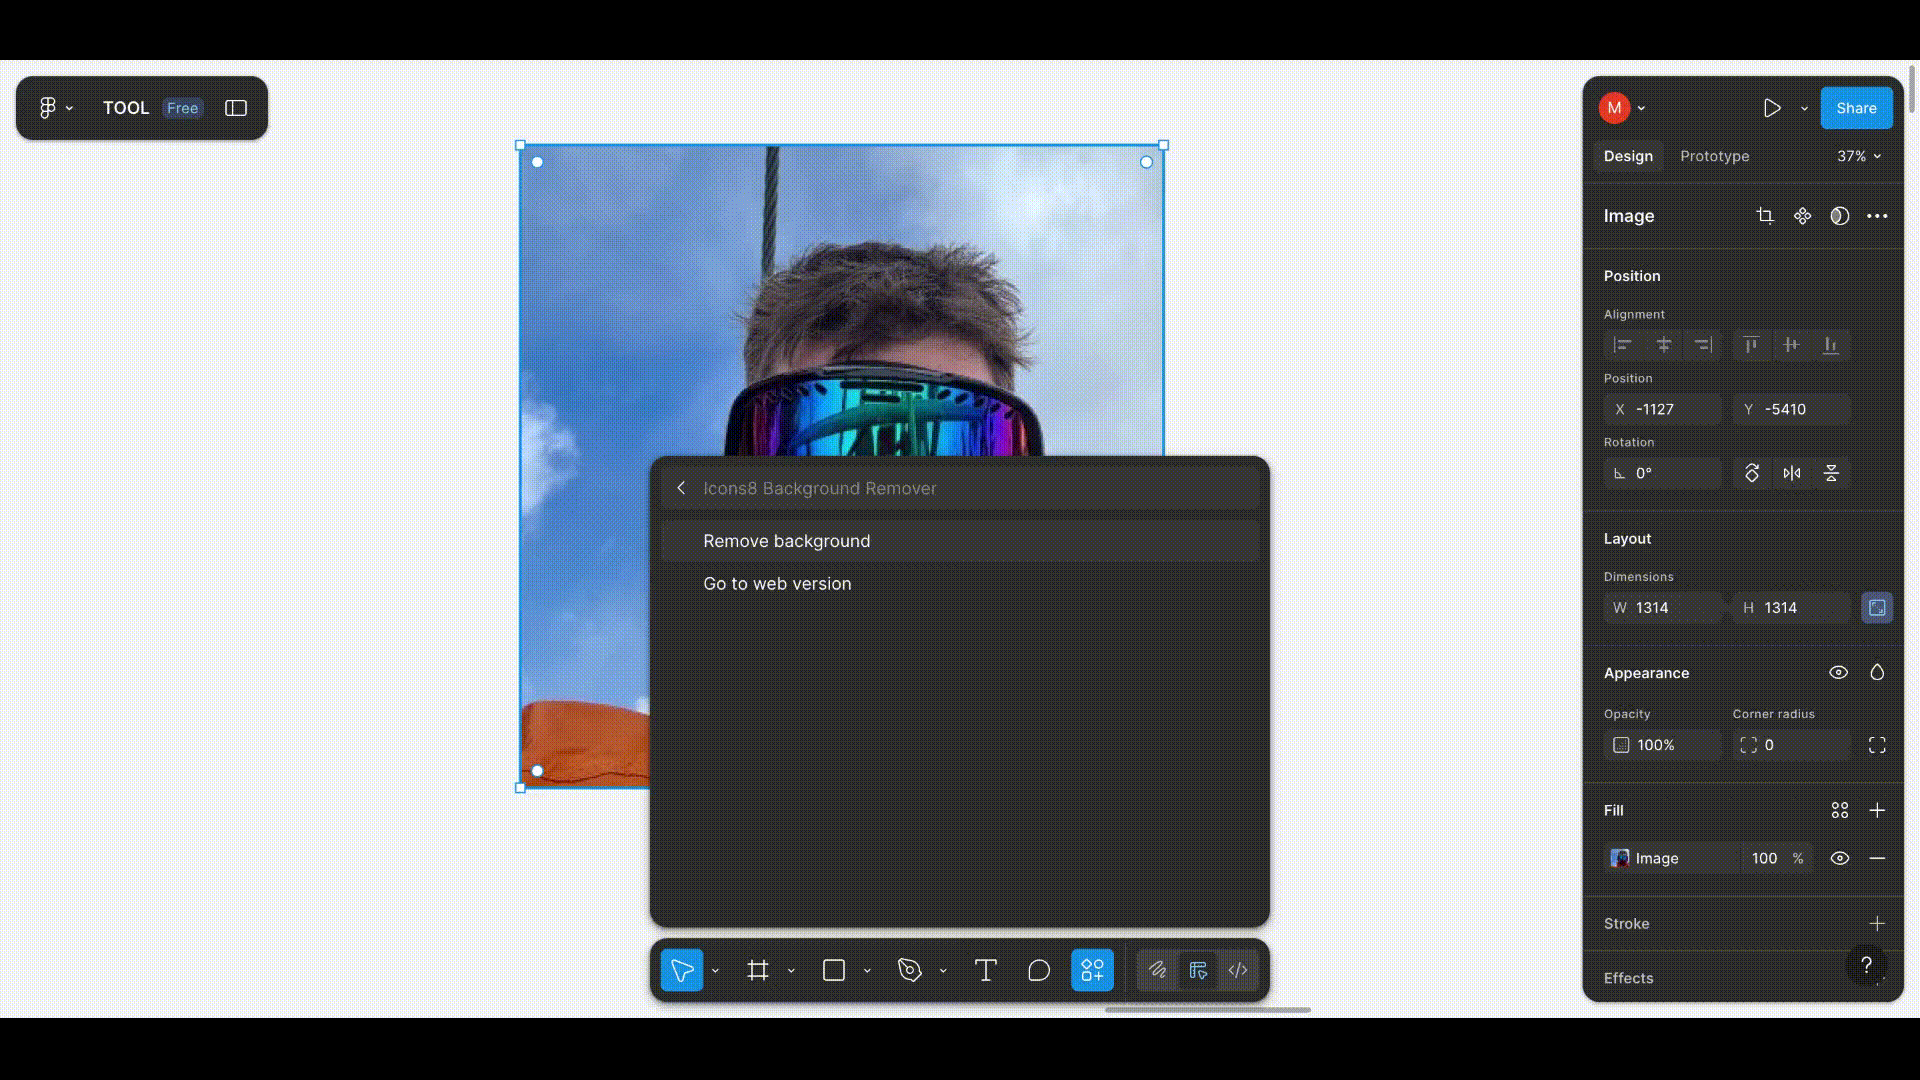
Icons8 uses its built-in AI to remove the background in a single step, and the cleaned image will appear right in your Figma file.
There is no need for manual adjustments, the plugin replaces the background instantly and keeps the subject intact.
Step 3: Keep or Undo the Result
If you like the result, continue editing your design as usual.
If you want to revert the change, use Ctrl + Z on Windows or Cmd + Z on Mac to undo.
This restores the original image without the plugin’s edits, letting you try again or choose a different method.
Wrapping Up: Login-Free Methods to Remove Image Background in Figma
Removing image backgrounds in Figma is simple when you use the right plugins. Photopea’s Magic Cut gives you more control, while Icons8 Background Remover offers fast one-click results.
Both methods work inside Figma without logins, extra apps, or long steps.
If you found this guide useful, check out our other tutorials and posts to learn more quick, practical design workflows.
You May Also Like


Featured Tools


Newest Additions


AI Image & Video Generation


Vibe Coding Library


Screenshot & Screen Recording Tools


