Automate Website Screenshots with ScreenshotOne & Zapier
Use ScreenshotOne to take website screenshots and upload them to Google Drive automatically.

Dudu
Feb 6, 2025
Last Updated Feb 6, 2025
Image Credit: Toolfolio
Automate Website Screenshots with Zapier & ScreenshotOne
Manually capturing website screenshots can be time-consuming. With Zapier, Google Sheets, and ScreenshotOne, you can automate the entire process.
Before we jump into how it works, let me introduce the tools we will be using and the general overview of the steps we will be automating.
ScreenshotOne:
ScreenshotOne is an online tool that instantly generates high-quality screenshots of any webpage simply by entering its URL. It streamlines the process for developers, designers, and marketers to capture, share, and embed accurate visual previews of websites.
Key Features:
Remove ads.
Block cookie banners.
Render in the dark mode.
Any custom screen size or predefined by device.
And hide chat widgets.
Find out more on their website Screenshotone.com

Zapier:
Zapier is an automation platform that connects your favorite apps and services to streamline workflows and eliminate repetitive tasks—all without writing a single line of code. It empowers both individuals and businesses to integrate various tools seamlessly, boosting productivity and efficiency.
Key Features:
Connects with over 2,000 apps.
Enables complex automation sequences.
Designed for users of all technical levels with a no-code, visual interface.
Find out more on their website Zapier.com

How It Works:
When a new row with a URL is added to Google Sheets, Zapier extracts the URL and sends it to ScreenshotOne to capture a screenshot, which is then uploaded to Google Drive.
Heres a breakdown:
Trigger: A new row with a URL is added to Google Sheets.
Action 1: Zapier grabs the URL from the sheet.
Action 2: The URL is sent to ScreenshotOne to capture a screenshot.
Action 3: The screenshot is uploaded to Google Drive.
Step-by-Step Setup:
Before you jump into creating the automation, you will first need to make sure:
You created a free or paid account on Screenshotone.com
Created a free or paid account on Zapier.com
Have a Google account (or airtable, supabse, etc.)
1. Set Up Google Sheets
Create a new Google Sheet within a folder in your Google Drive.
Add column headers (e.g., "Website URL" & "Website Name").
Each new row should contain a URL you want to capture.
2. Create a Zap in Zapier
To make this even simpler for you, you can use this prompt on Zapier Co-pilot to help you create the steps you will need.
Prompt:
I need an automation that will be triggered when a new item is added to a row in a google sheet, then using that url take a screenshot using screenshotOne, and then upload that screenshot to google drive.

Select Google Sheets as the trigger app.
You will have to authenticate your google account in order to make the connection. You will also be prompted to choose which sheet are you going to be using.

Choose "New Spreadsheet Row" as the trigger event.
Connect your Google account and select the sheet.

3. Capture Screenshots with ScreenshotOne
Add a new Zapier action.
Select Take Website Screenshot as the Action Event

You will also have to authenticate your Screenshotone account by going to your Dashboard>API Keys> Copy access Key

Configure your parameters: and make sure the Website Link Column in your google sheet is selected in the Website URL field in Zapier!

You can also change the format, size, full page, block ads/cookie banners etc. at this stage.

4. Upload to Google Drive
Add Upload File action in Zapier.

Map the screenshot file to be saved in a specific folder. Make sure to select the file and Website Name by clicking on the '+' plus icon.

Final Step: Turn the Automation on!
Finally, watch your effort pay off tenfold! Now, every time you add a new row to to your sheet, Screenshotone.com will go and take a screenshot for you and upload it to your Google drive folder you specified!
Saves time compared to manual screenshots.
Ensures consistent and timely captures.
Stores all screenshots in an organized way on Google Drive.
Need Help? Reach Out!
I hope this guide was helpful in setting up your automated screenshot workflow! If you have any questions or need assistance with your automation, don’t hesitate to reach out on Twitter/X @toolfolio—happy to help!
You May Also Like
Featured Tools
Newest Additions
AI Image & Video Generation
Marketplace
Vibe Coding Library
Mac Apps
Figma Resources
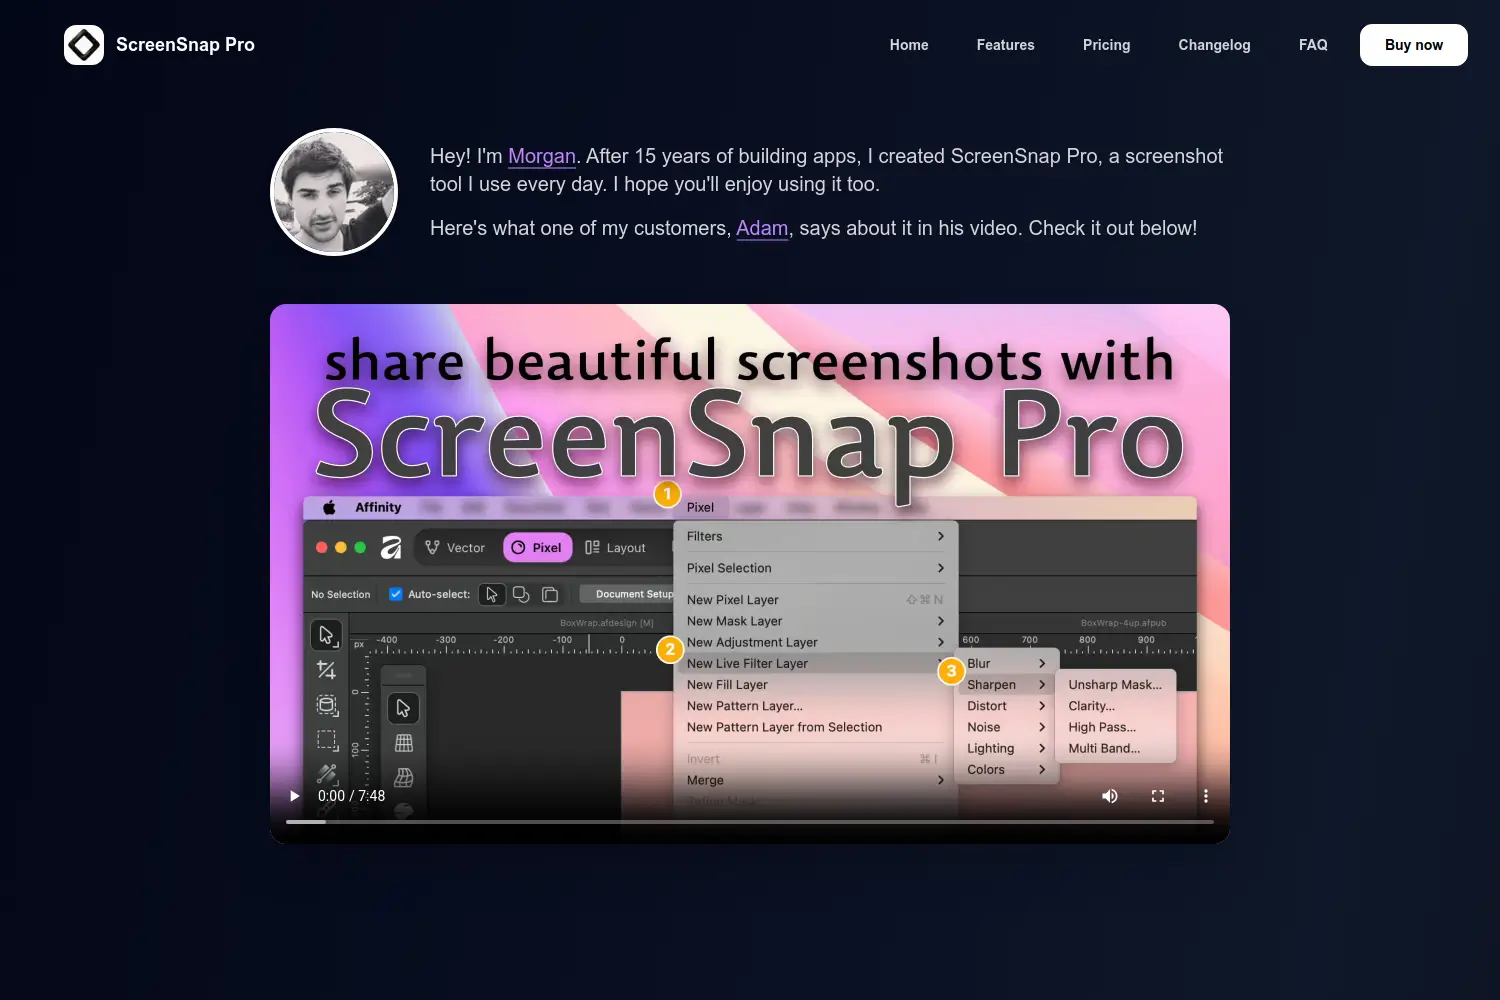
Screenshot & Screen Recording Tools


